
You aren’t alone if you have no idea how to wire backup batteries in Barotrauma. For the longest time, we ignored the Wiring system in Barotrauma. Having played the game since it was titled Subsurface, this is embarrassing. Today we’re solving that and spreading the info to others who want to learn with our Barotrauma Battery Wiring Guide.
Learn how to make Custom ID Cards in Barotrauma with our guide here.
Backup Battery Wiring Guide
To wire Submarine Batteries, players need to enter the Submarine Editor, place Submarine Batteries, and wire them into the power grid. Submarine Batteries serve as a buffer if the Submarine has too little or too much power. Their stored power means they can be a backup system if the Reactor is damaged or out of fuel.
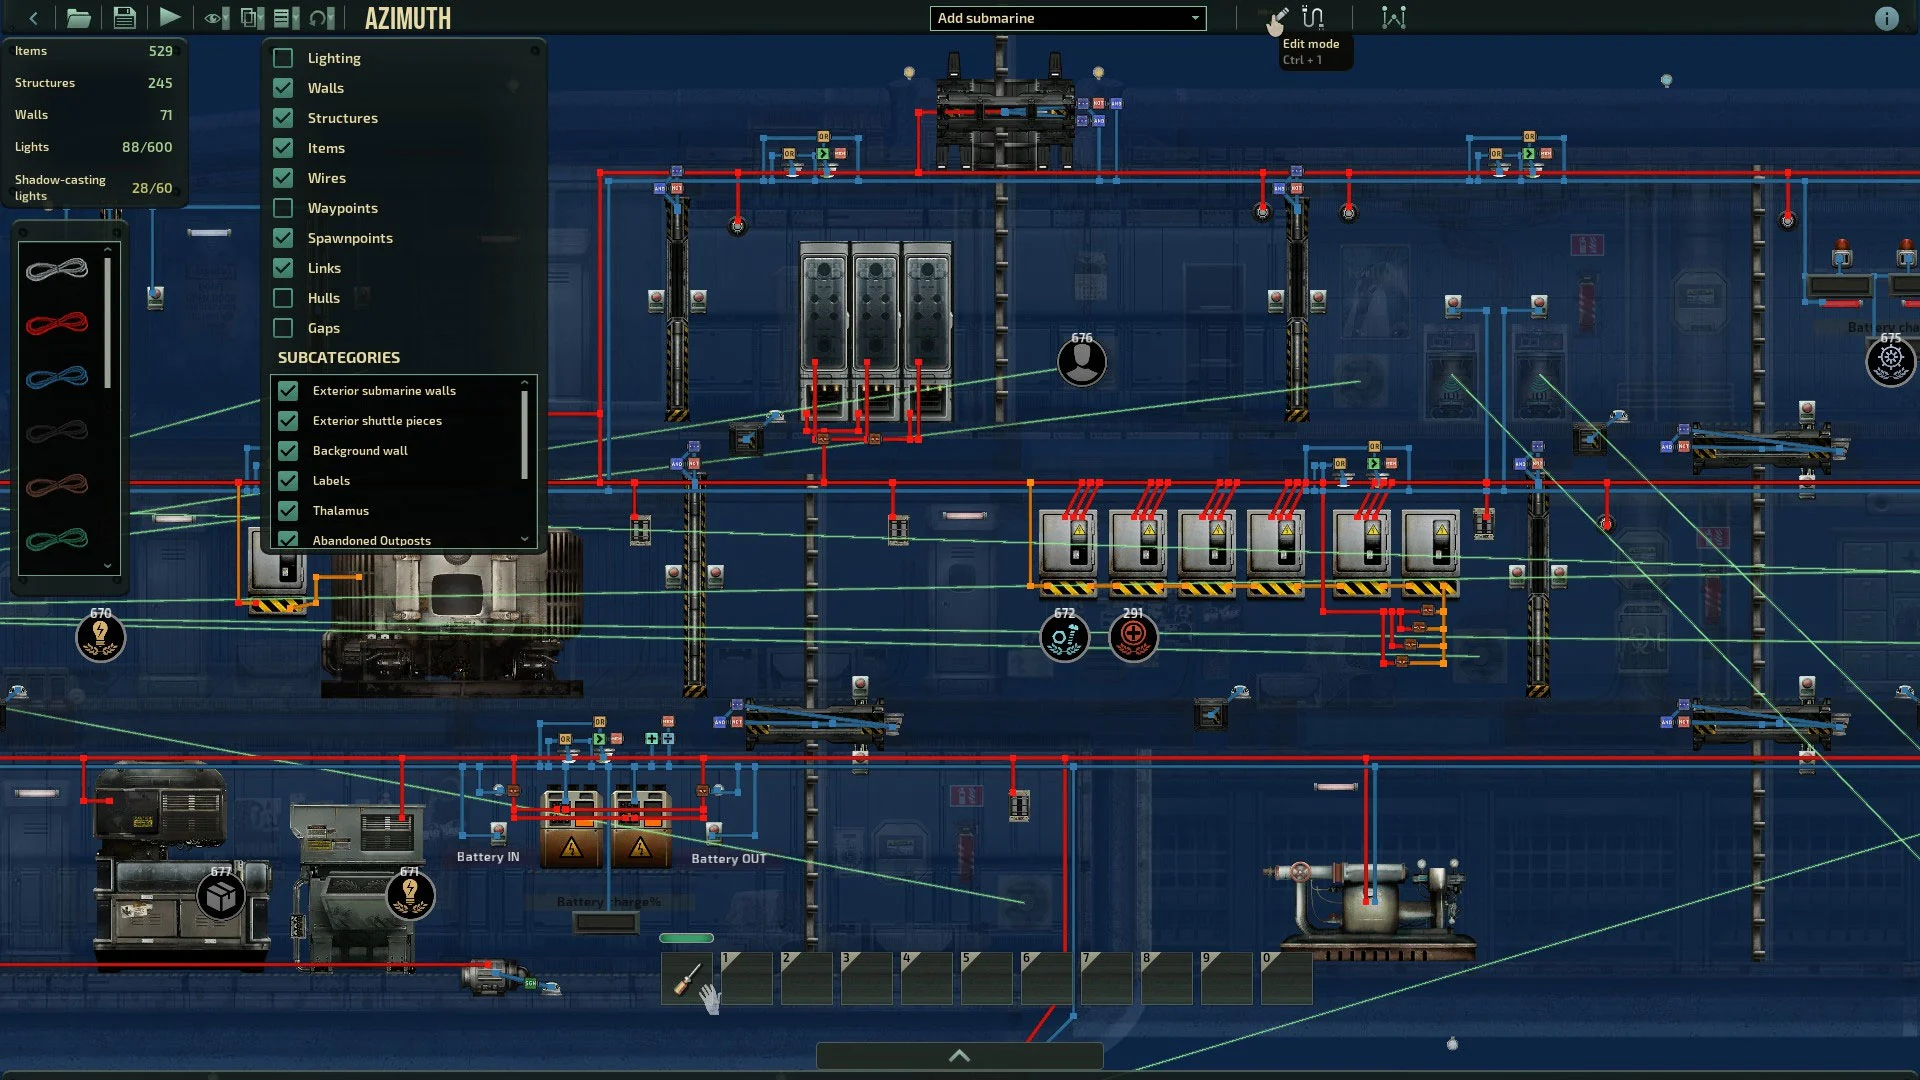
We’re using the Azimuth Scout Submarine for our demonstration; it has a working example we can point to. Load it in the Submarine Editor, and choose the icon at the top right to enter Wiring Mode. The Batteries are down in Engineering.
Press ‘E’ while pointing at one of the batteries to see its Wiring Menu. We can see the inputs on the left and the outputs on the right. The text boxes labeled in blue are for signals, and the red ones are for power itself. We can hover over one of the wires in the Wiring Menu to see where it goes.
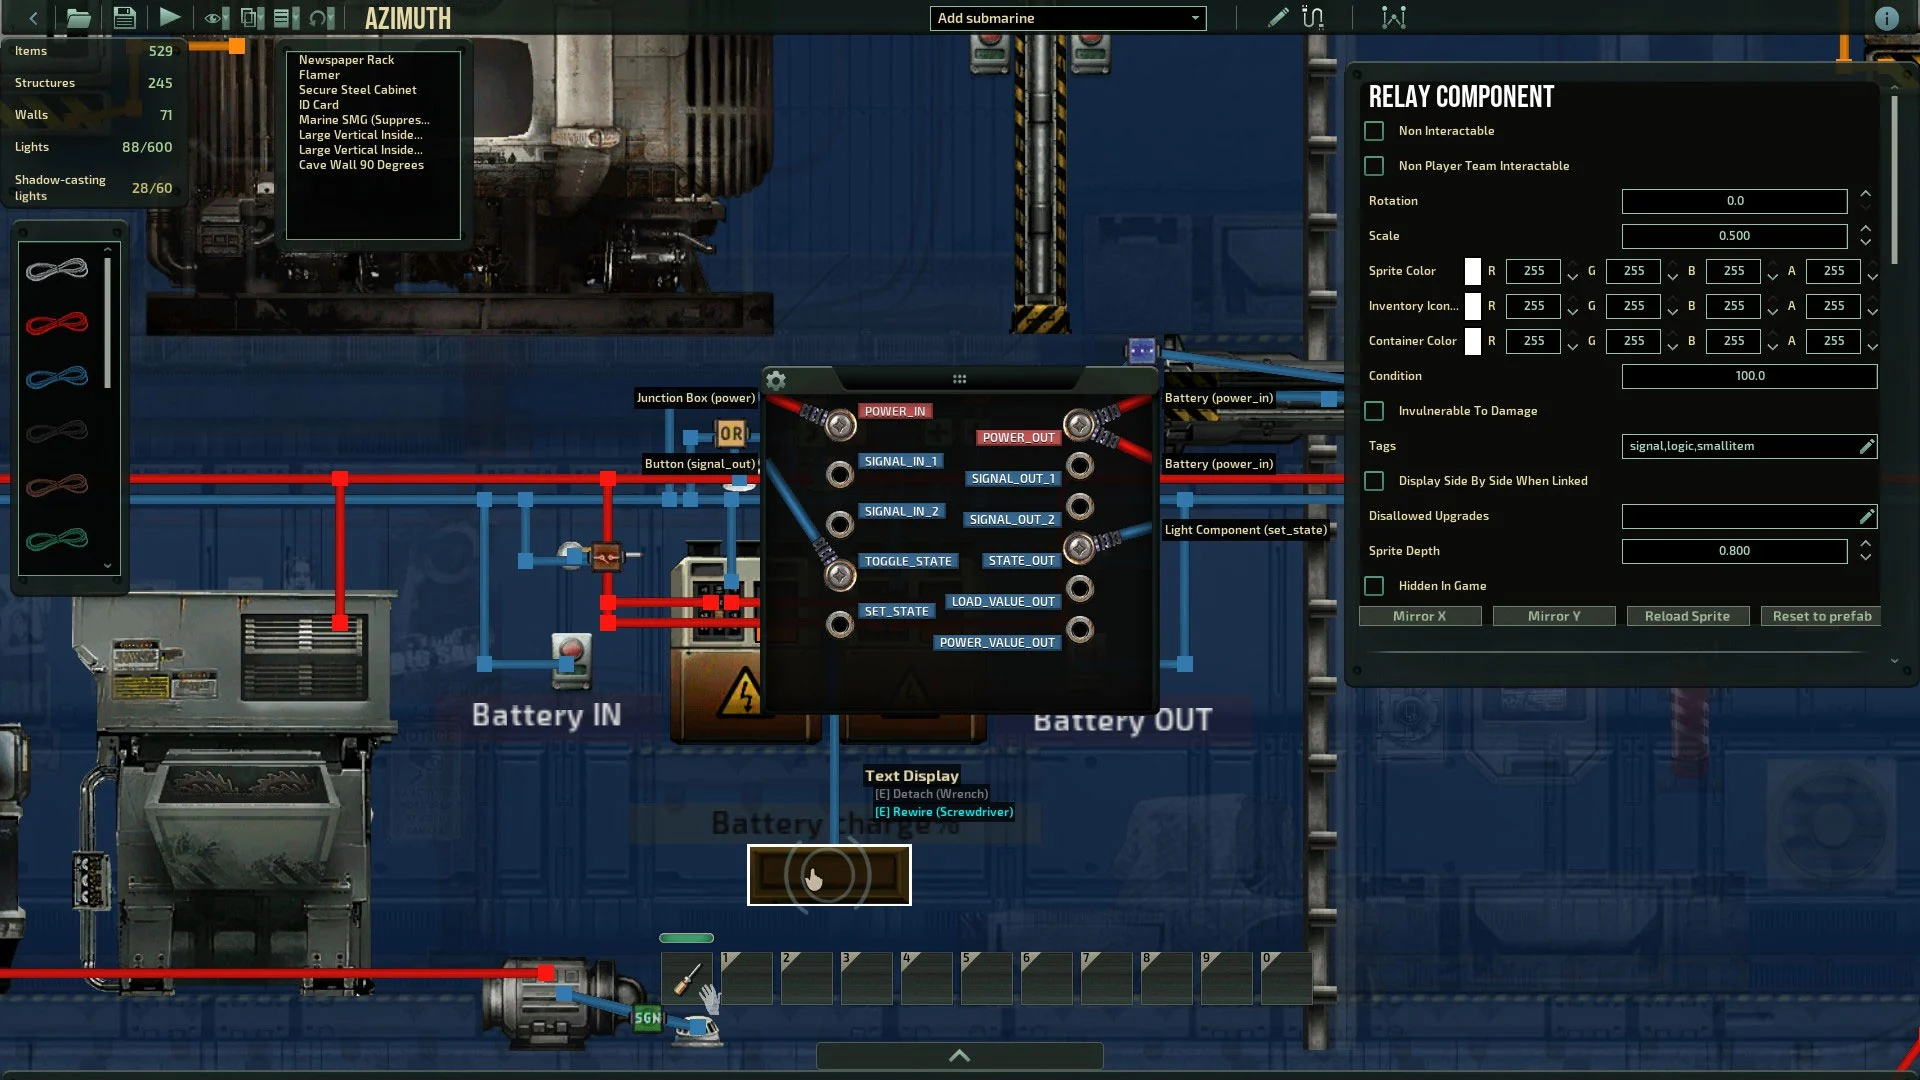
Right now, we’re going with the simplest use of Batteries; the red inputs are all we care about. You’ll note these have red wires attached. Hover over one of the red wires running away from the Battery, and we’ll see it’s wired to a nearby Junction Box. Junction Boxes route power through the ship.
Making Our Own Batteries
Start by exiting Wiring Mode and placing a Battery right next to the Reactor’s Junction Box. Re-enter wiring mode and select the red wire from the left side of the screen. Bring up the Wiring Menu for the Reactor Junction Box.
We’ll see our in-hand wire is now available; click and drag it to the “power” output on the Junction Box, and exit the menu. Now we’re drawing a line of wire. If we’re traveling a longer distance, we can left-click to stick the wire to the wall to organize it. Today, just mouse over the Battery we placed and bring up the Wiring Menu again.
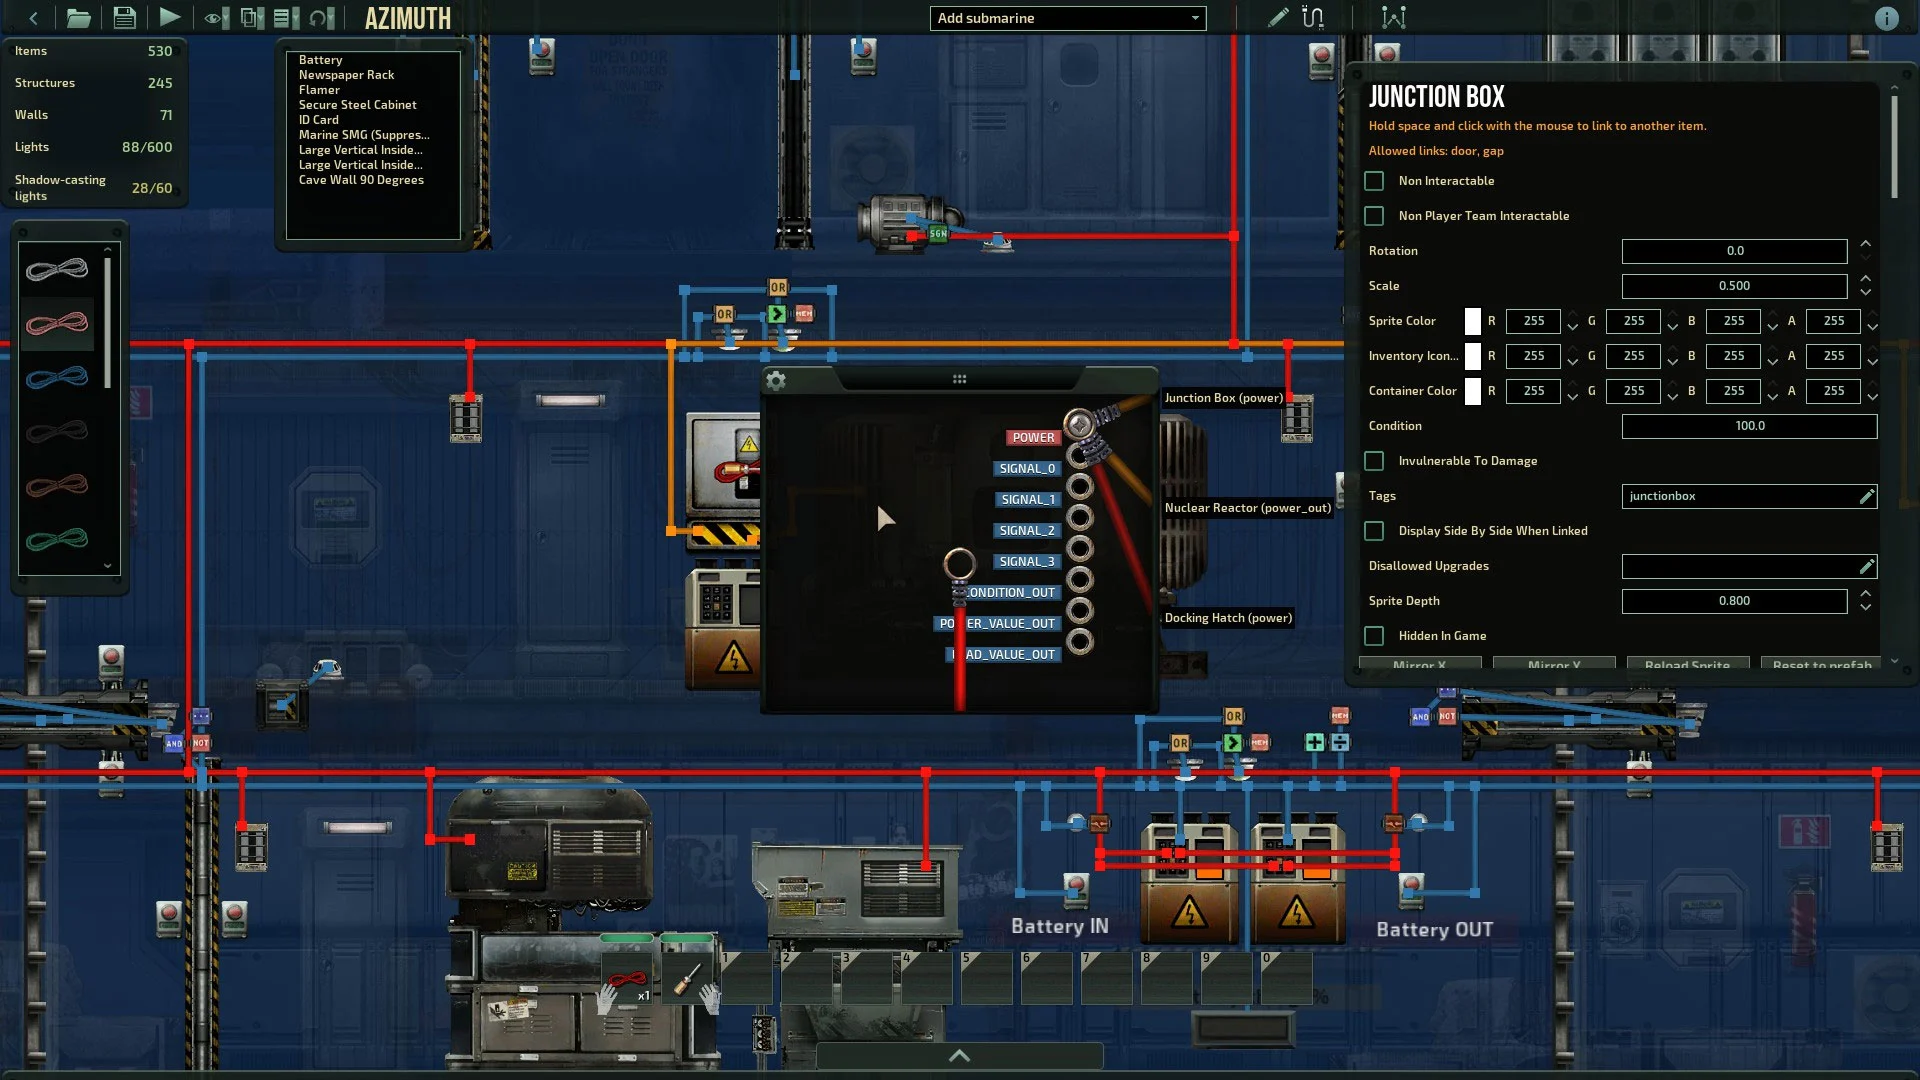
We’ll connect it to the Battery’s “Power_In” input. Repeat the process with another wire connecting “Power_Out” on the Battery to that same junction box.
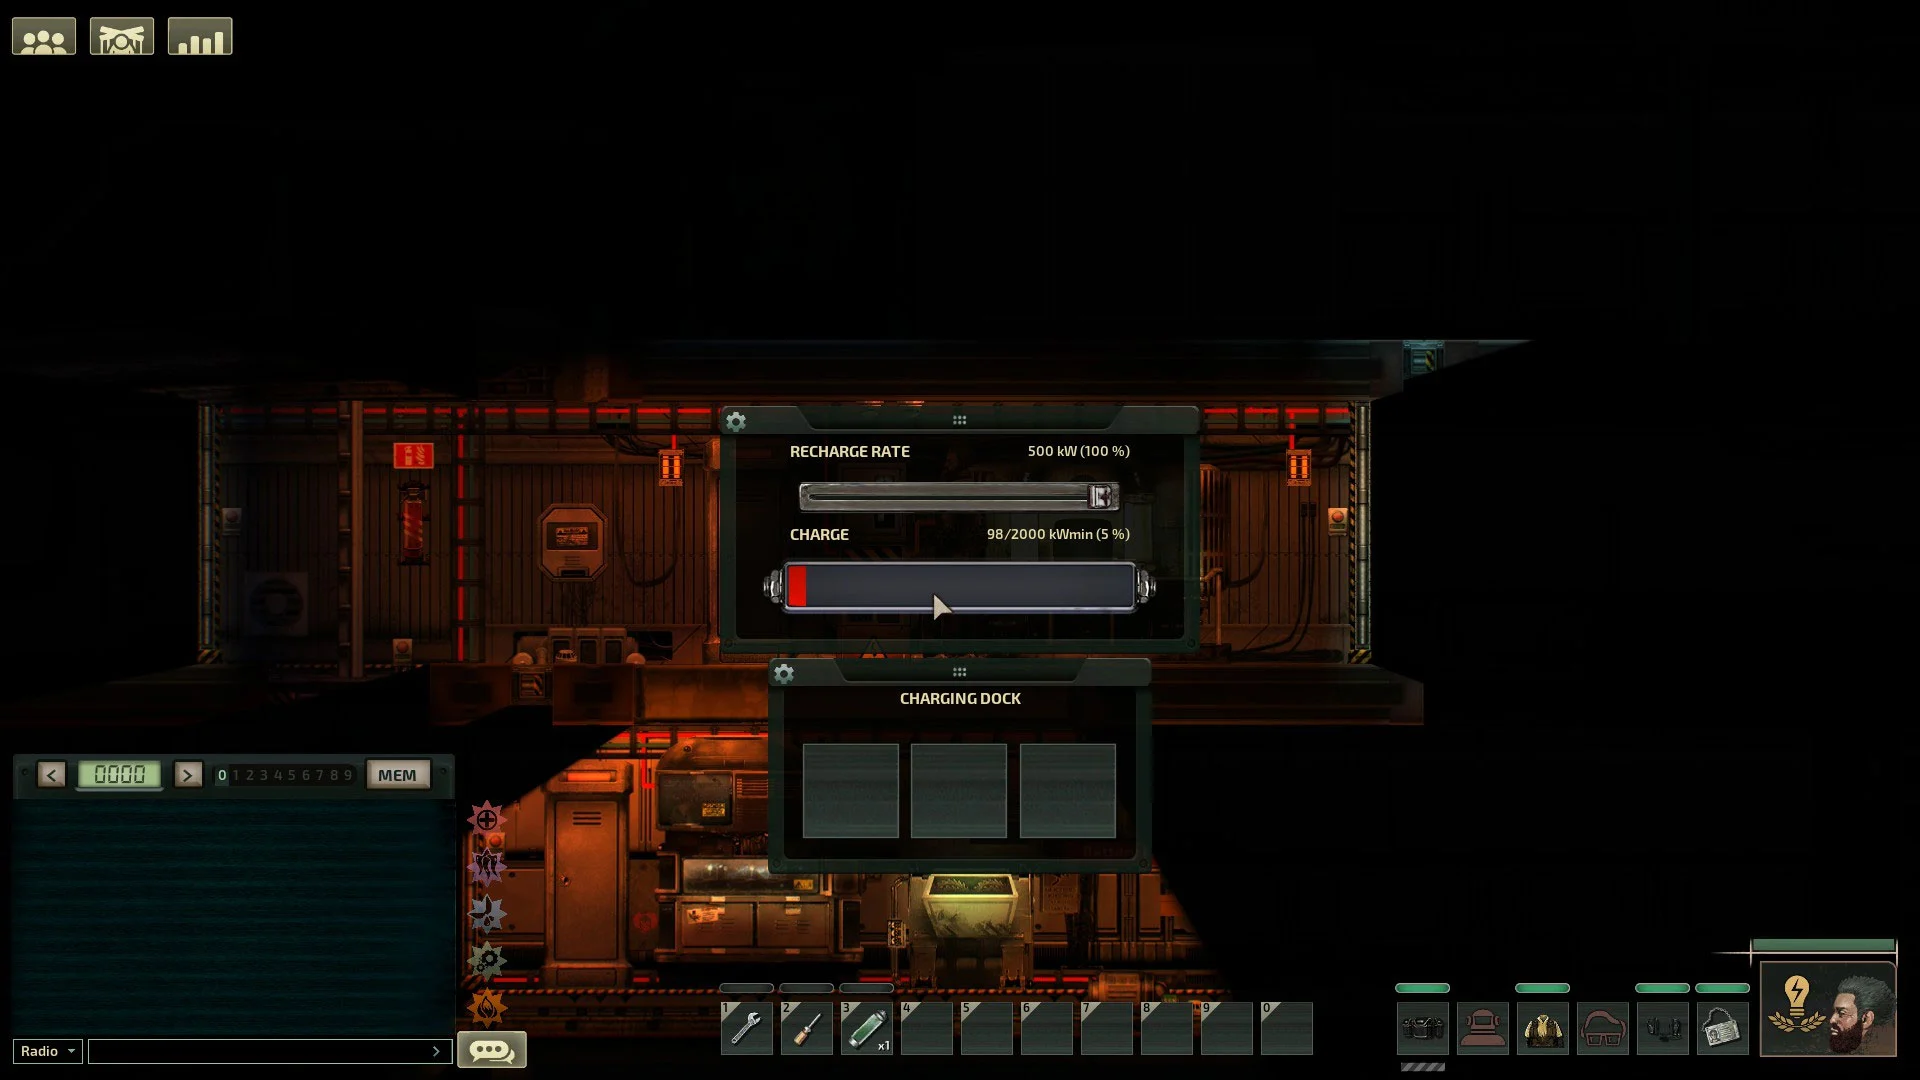
Test our new Battery by hitting the “Test” button in the top left corner. Hitting the Test button will place us inside the sub like a regular session. Power up the Reactor and adjust the Recharge Rate slider on the Battery. You will see the Charge build into the Battery. Now turn off the Reactor, and we’ll see the Battery start draining power to keep the sub working.
That was our Backup Battery Wiring Guide. There are more complicated ways to use them, but we thought this would be the most helpful for newcomers. Use this guide to build a new sub or improve one you already like.
We cover Barotrauma and other titles in our Guides Section. Take a look!