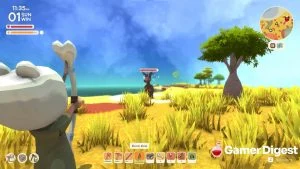
If you’ve been playing Dinkum and taking every quest you can get, you may have run into a request to take a picture in Dinkum. Picture requests can come from side quests from Visitors or Residents and at the Bulletin Board. Keep reading to learn how to take pictures in Dinkum.
How to Take Pictures in Dinkum
Here’s how to take pictures in Dinkum:
- Buy a Museum Deed from Fletch for 250,000 Dinks.
- Build the Museum and visit it.
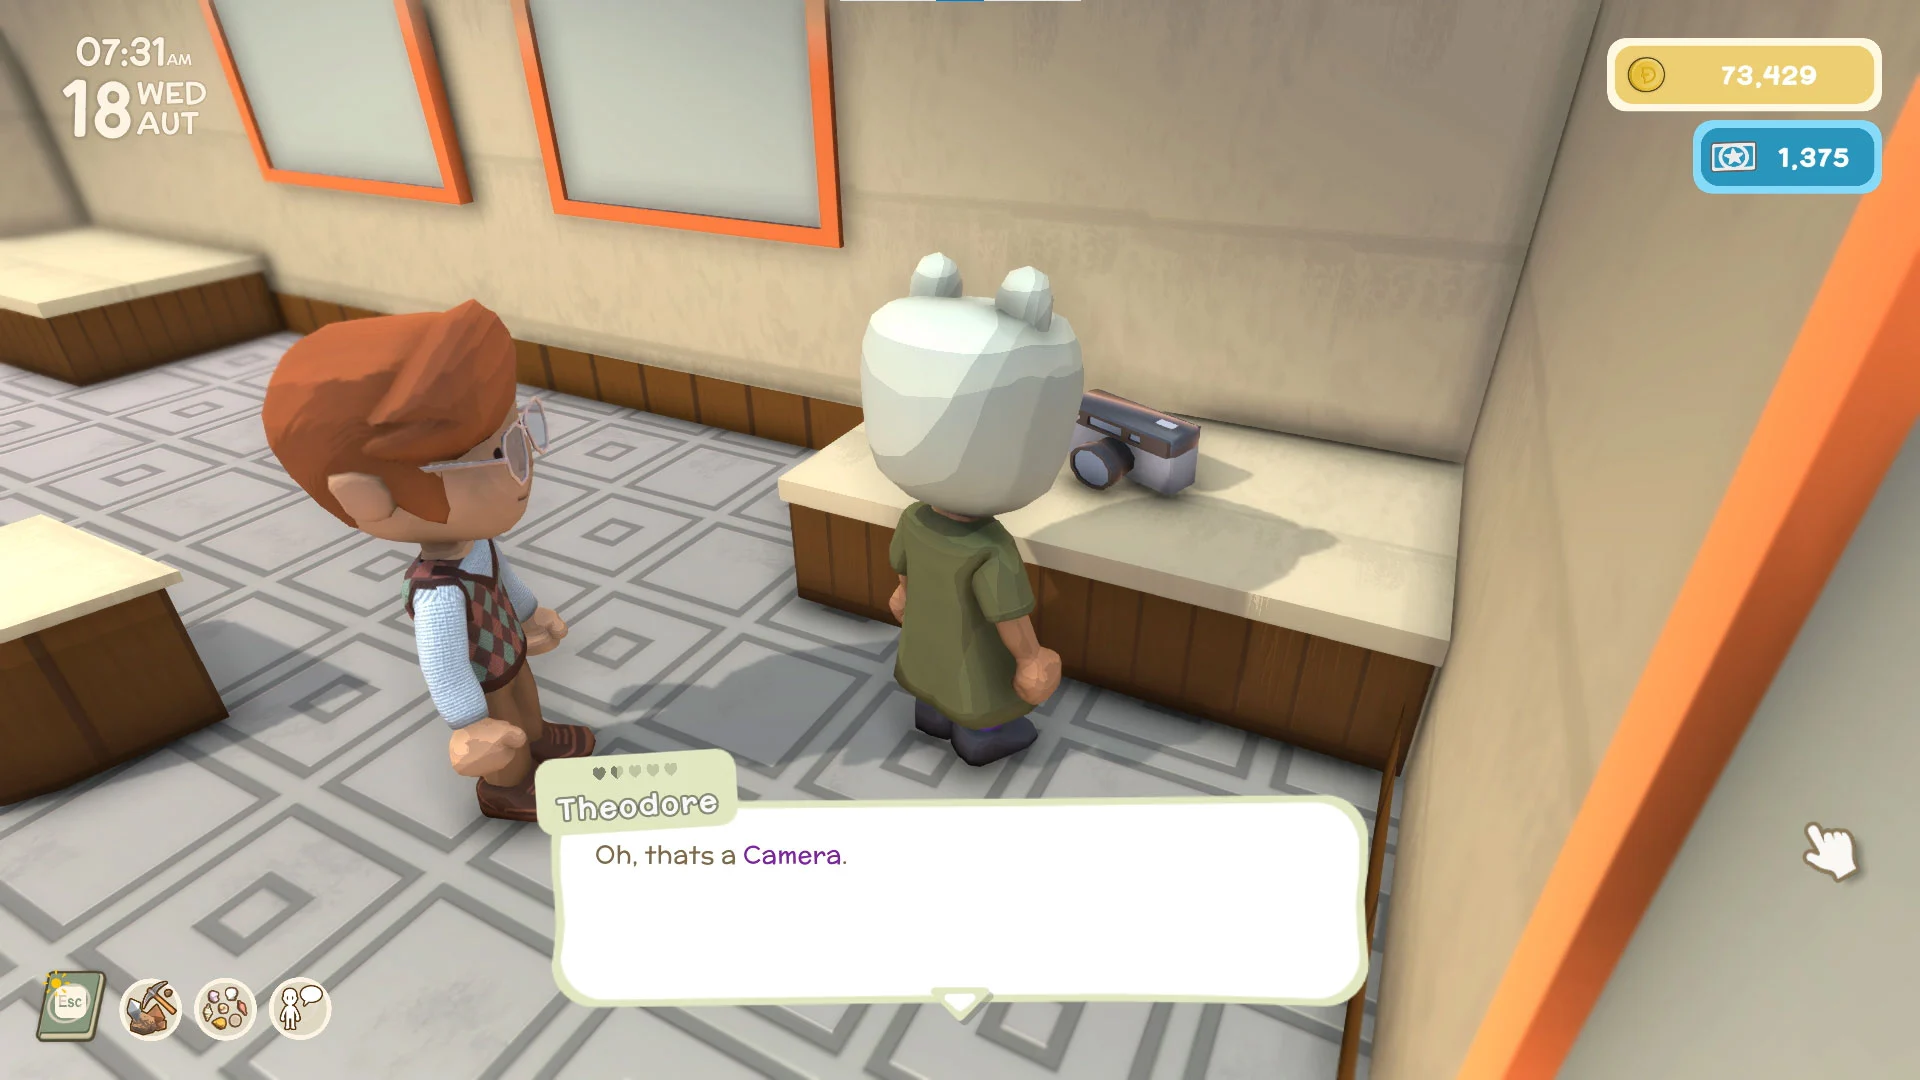
- Walk up to the Camera in the back right of the lobby and press the E key.
- Buy the Camera from Theodore for 16,000 Dinks.
- Equip the Camera in your toolbelt.
- Left-click to go into Camera mode.
- Left-click again to take a picture.
- Right-click to exit Camera mode.
To take pictures in Dinkum, buy a Camera from Theodore at the Museum, equip the Camera to your toolbelt, then left-click to take a photo.
And there you have it! Note that you need to be outside to pull out your Camera. If you don’t have the Museum Deed available yet, wait till Theodore arrives on the Island and perform jobs for him so that he likes you and wants to move in. Now you can snap any photo you need without worrying about running out of film.
Viewing Your Photos
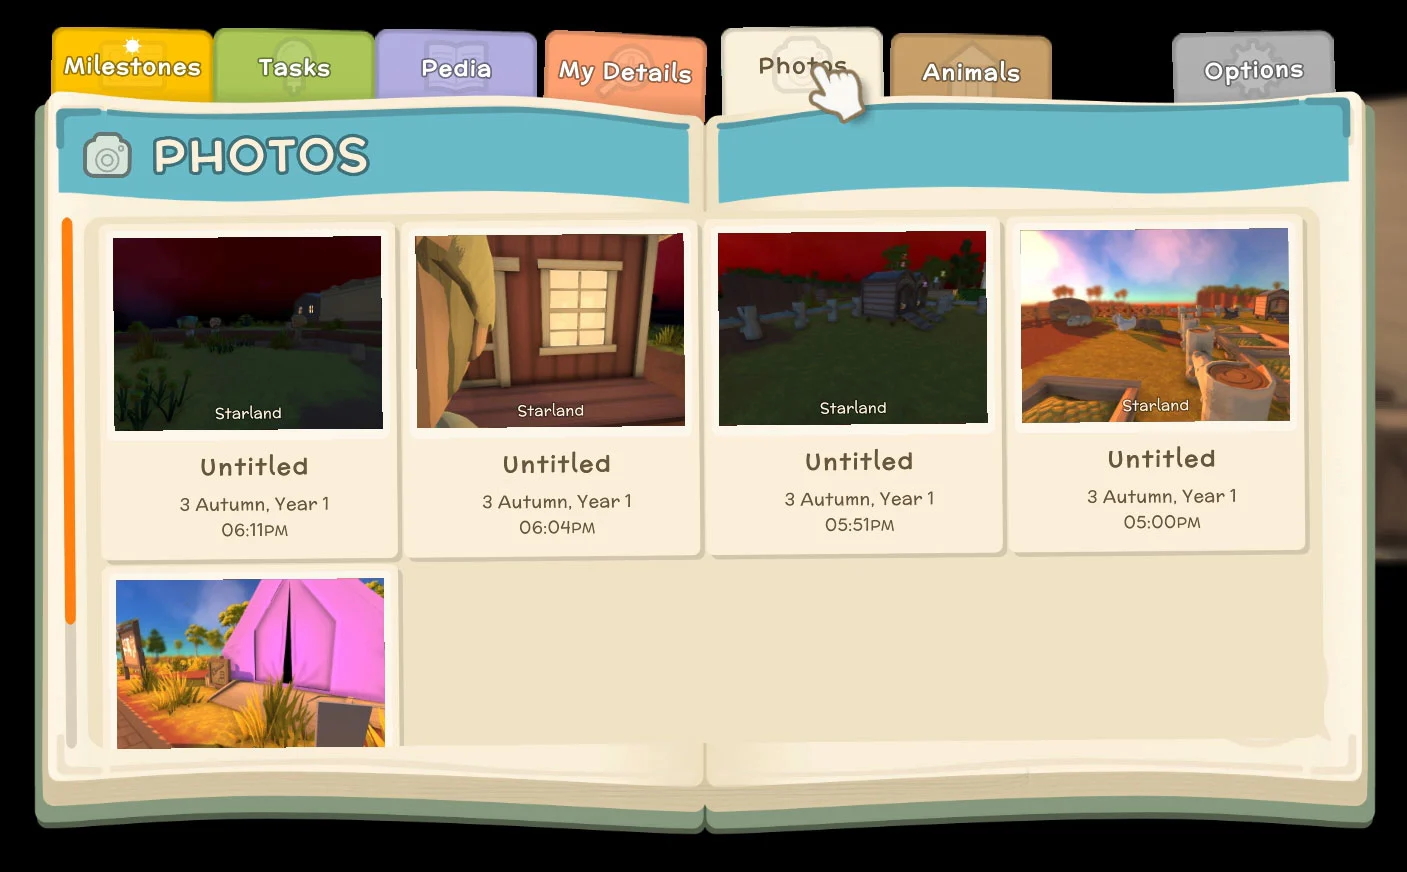
To view your photos in Dinkum:
- Press the ESC key to bring up your Journal.
- Click the Photos tab.
- Click a Photo to change the name of the photo.
- Press the ?️ icon to delete photos from your photo book.
To view photos in Dinkum, press the ESC key, go to the Photos tab and view all your photos.
And there you have it! You can earn more Dinks by completing missions that require you to take photos for different people on the Island. Or, if you’re like us, you can use it to commemorate incredible moments or show off your farm to your friends. Now you know how to take and view pictures or photos in Dinkum!
Dinkum is now available in Early Access on Steam.
If you need more help in Dinkum, head to our Dinkum Guides section.

