Osvald’s finally on Harvey’s trail. The man that took everything from him will finally be within reach. Is the fugitive Scholar ready for their reunion? We hope to make it certain with our Octopath Traveler II: Osvald Chapter 4 guide.
Octopath Traveler 2: Osvald Chapter 4 Guide
Montwise has some serious resources to pull from. There is a Gladiator Arena located at the bottom of a staircase on the East side of town with another vendor. Go down here at night and use Temenos’ Interrogate Path Action; defeating some of the townsfolk will unlock new equipment. Check the Armorer here and the other shop in the town proper; buy as much as you can afford especially armor. Healing potency on spells stems from Elemental Defense, which will be important.
If you aren’t leveled enough for the challenge ahead (or need more leaves), there are 3 areas to grind in. There is the Abandoned Traverse to the East, the Underground Laboratory (for Osvald’s story), and the Forsaken Graveyard to the South. These areas range from level 30 to 40.
Try not to take on enemies more than 5 levels above you. You’ll often spend so long fighting that the extra XP is wasted. The Support Skills Extra Experience from the Scholar job and Life in the Shadows from the Thief job will increase your XP gains.
We suggest the following team comp for clearing the Chapter 4 Dungeon, Underground Laboratory:
Consumables:
- Inspiriting Plum Basket
- Healing Grape Bunch
- Empowered Lychee (M)
- Energizing Pomegranate (M)
- Olive of Life (M)
Party Composition:
The Suggested level for this task is 36+. Here’s what we suggest:
| Character | Secondary Job | Critical Skills |
| Osvald | Cleric | Analyze (Scholar) Mystical Staff (Cleric) Prayer to the Flame (Cleric) |
| Hikari | Hunter | Bolstering Break (Warrior) (Support) Spearfishing (Learned Skill- Check fishing towns) Cleaving Blow (Hunter) |
| Ochette | Warrior | Deal More Damage (Warrior) (Support) Salt the Wound (Hunter) (Support) Precise Shot (Hunter) Cleaving Blow (Hunter) |
Last slot is your choice, but we recommend someone with utility skills like Agnea the Dancer or Castti the Apothecary. Fill whatever gaps you find in your healing and defensive buffs with them.
Osvald, Chapter 4 Grieving Golem Location
Osvald believes Harvey is still at Montwise, where he serves as a professor. He’s nowhere to be found at the moment, but some Scrutinizing in the Library will lead you to the Underground Laboratory he works from. This area is rated level 35 in difficulty. It’s fairly small but has some good loot.
In the room directly after the savepoint, Osvald will find some lab experiments that attack the party. Try to rush down one of them immediately to reduce their damage to a more reasonable level. The Deformed Creature can inflict party-wide poison; if you don’t want to use Heal Wounds every turn, make this your first target. Before you ask, no, Ochette cannot tame any of them. That’s probably for the best.
Harvey will appear in the room after this fight, so make sure to save again and patch up the party. Unfortunately, he’s got another experiment for Osvald to face: The Grieving Golem.

Grieving Golem Stats:
- 62,000 HP
- 2 turns per round
- Phase 1 Weaknesses: spear, club, wind, light
- Phase 2 Weaknesses: sword, bow, ice, darkness
- Shields: 7 to 14
You might think this is the perfect time for Osvald to go all out with his magic attacks. You would be wrong, just as we were. The golem likes to decrease your magical damage and apply a debuff that can remove Boost Points or SP in addition to burning through health. Osvald should focus on healing and applying Prayer to the Flame to his teammates. Boost before casting the latter for increased duration.
For attacking, you want multi-hit physical attacks. In Phase 1, this means Spearfishing and Mystical Staff. In Phase 2, use Aggressive Slash and Precise Shot. You may have noticed we listed Cleaving Blow twice. The benefit is two-fold: It restores the SP of the character that used it and grants a tick of Darkness damage after any physical attack. This buff lets you break 1 more shield per attack in Phase 2 and lasts for 3 turns.
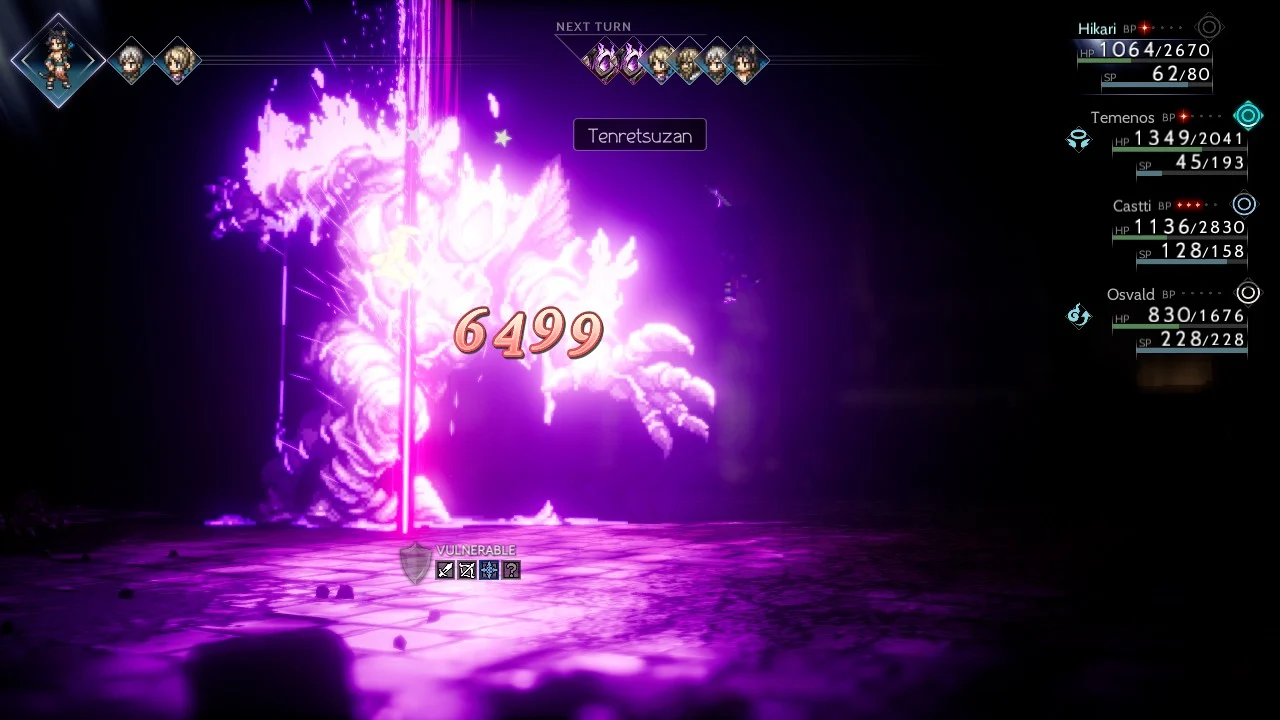
Between Hikari and Ochette, you should have plenty of damage output that also breaks the shields. Ochette’s Beastly Fangs attack is great for dealing damage after a guard break. We equipped her with Deal More Damage because she was hitting the damage cap when fully boosted. Hikari’s Tenretsuzan is also a good choice. Try to keep some BP in reserve for breaking shields. Don’t treat this fight as a sprint; more like a marathon.
The golem will sometimes glow with a dark-purple aura. This means it will gain extra turns in the next round. While breaking the Golem’s guard is always a good idea, it’s a priority here. Late in Phase 2, the Golem will use Stampede, giving itself 14 shields. Use the Energizing Pomegranate here to land extra attacks. Otherwise, top off on health and defense to survive the extra turns.
Near the end, the Golem will start breaking down. If you reach this point, you’ve already won. Enjoy the story beats that come next, as Harvey isn’t out of surprises yet. We hope you’ve enjoyed our latest Octopath Traveler II Guide.
See our Octopath Traveler II Section for more guides.