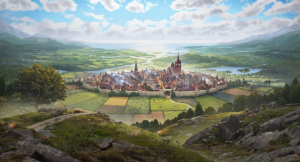
One of the best aspects of city builders is getting to plan the layout of your city. That’s easier said than done when your buildings are spread across multiple tiers. Without all of their dimensions in one place, it’s challenging to plan for the future when you need to add new buildings. That’s why we put together this list of buildings grids that you can use as a chart to help plan your future town.
If you’re interested in building grid sizes, you may want to check out our Farthest Frontier City Planner.
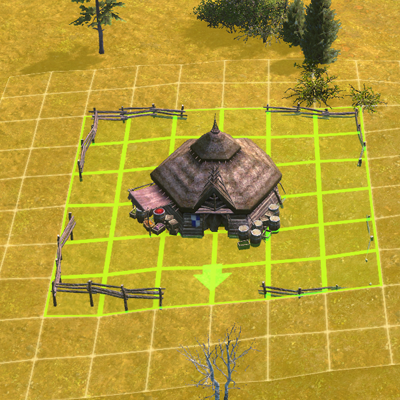
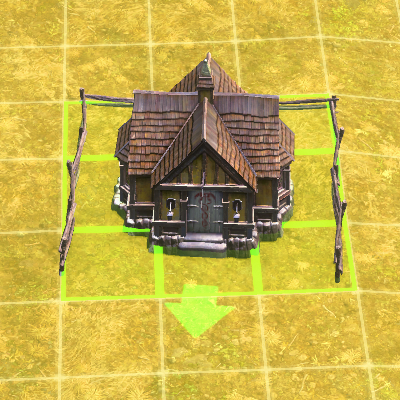
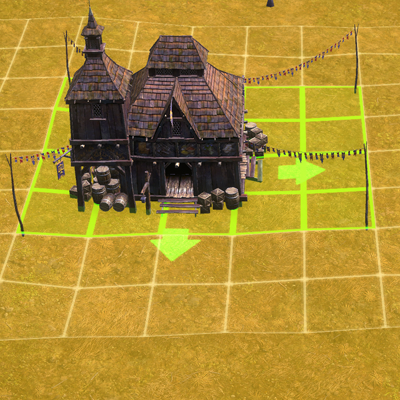
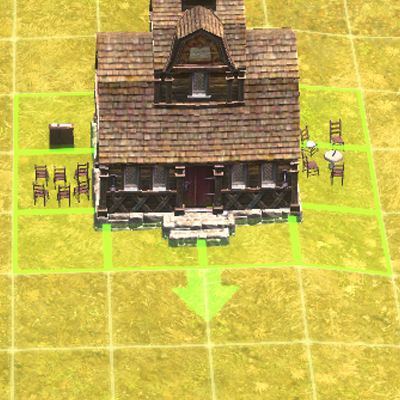
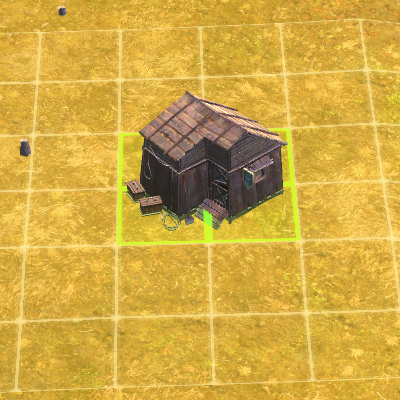
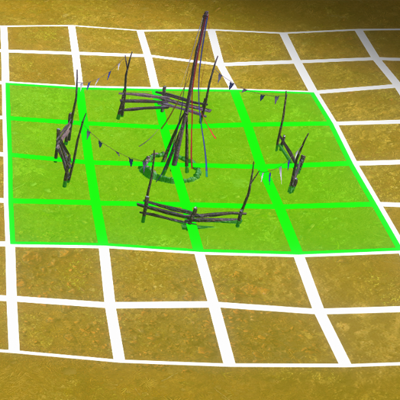
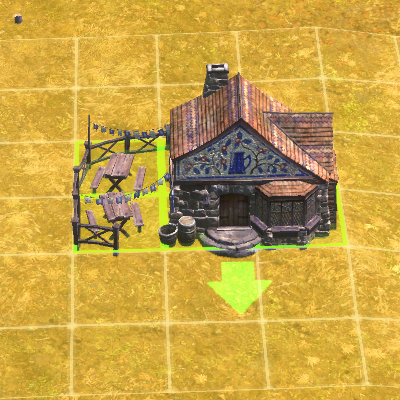
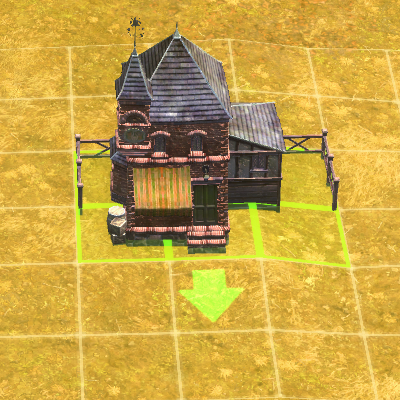
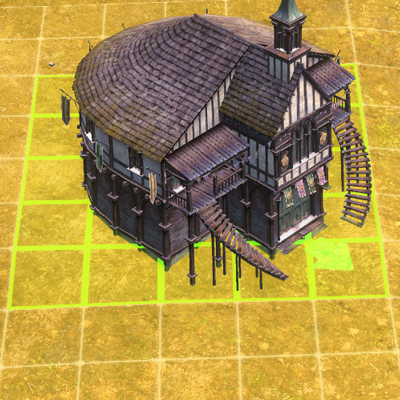
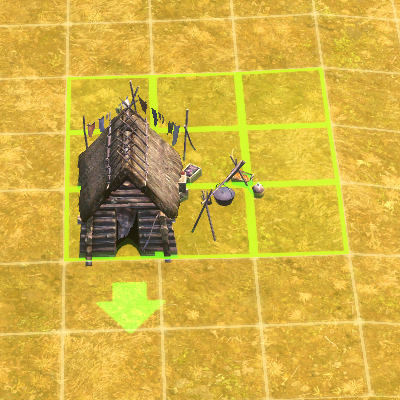
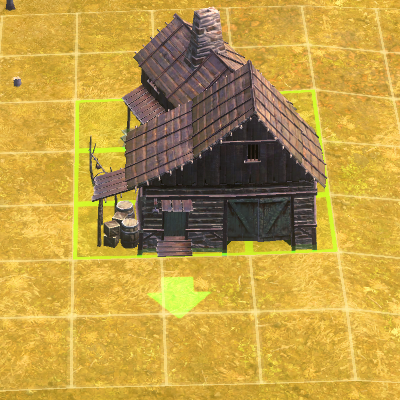
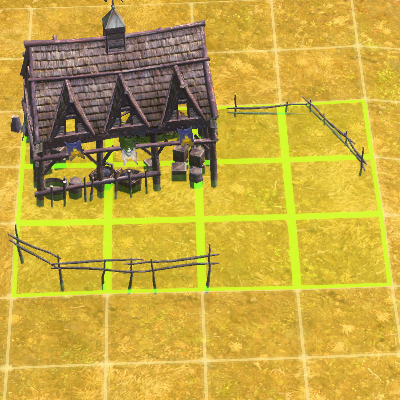
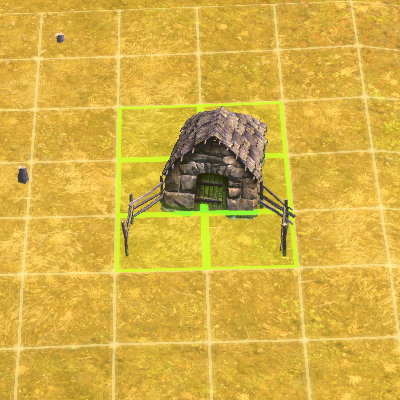
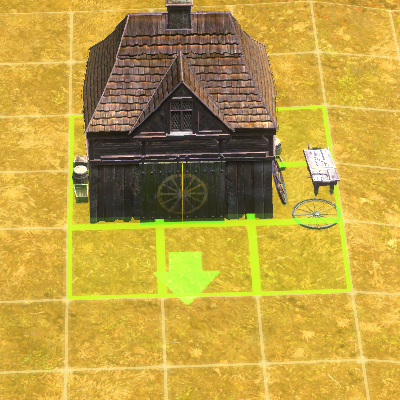
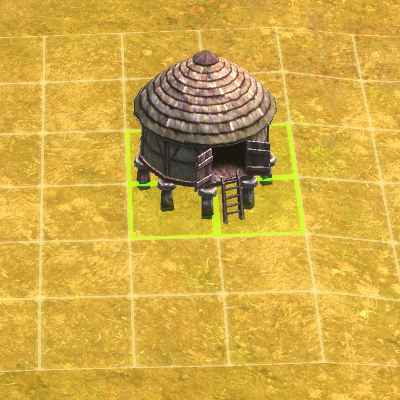
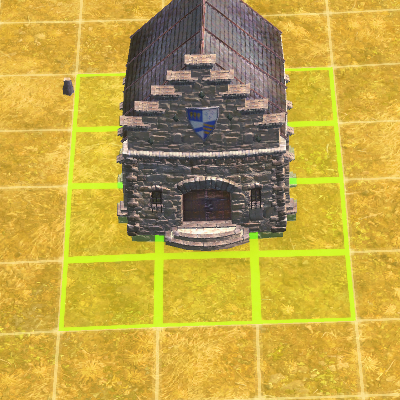
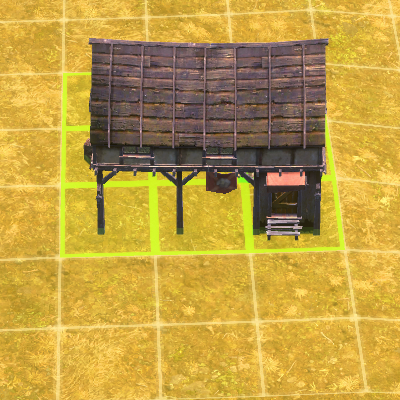
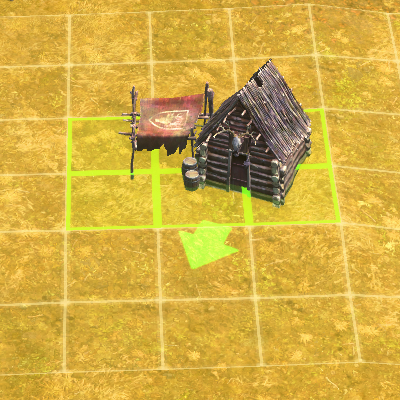
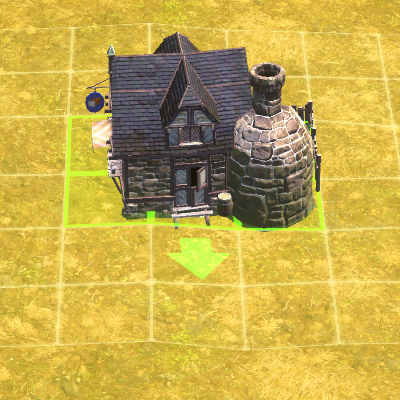
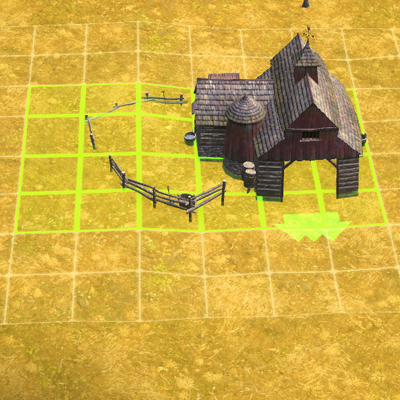
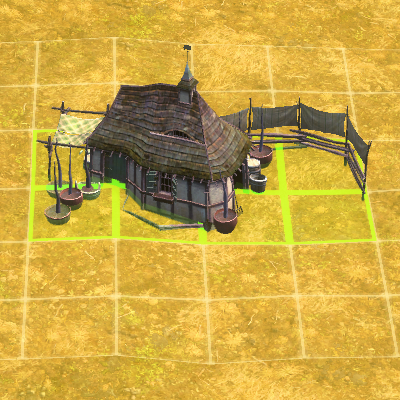
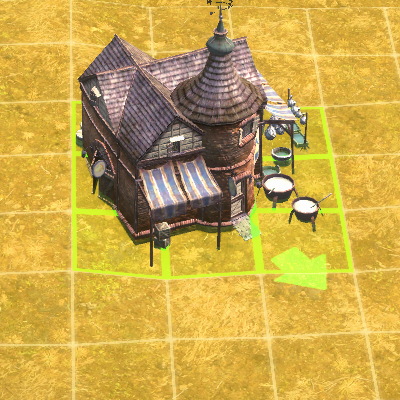
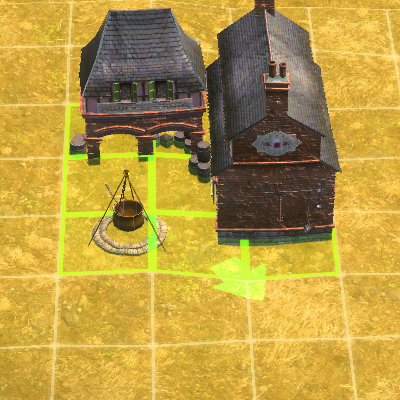
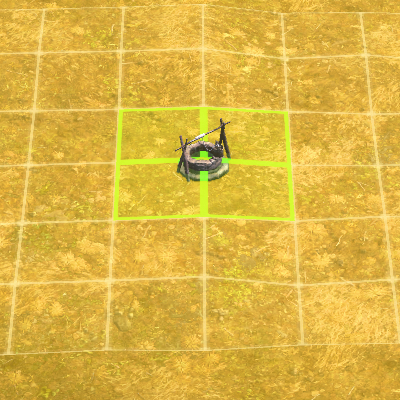
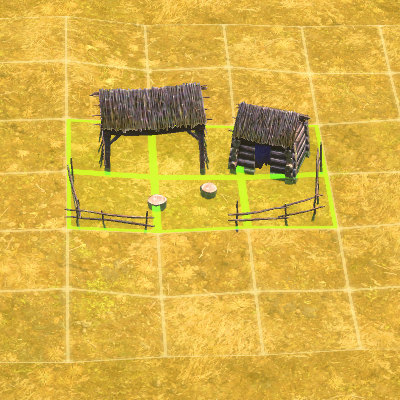
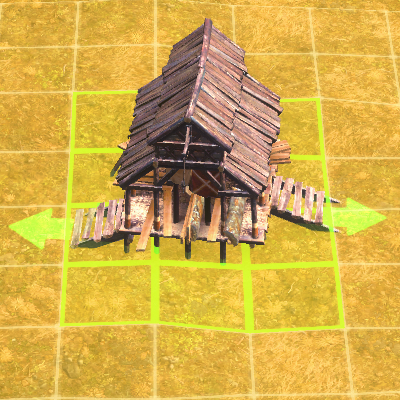
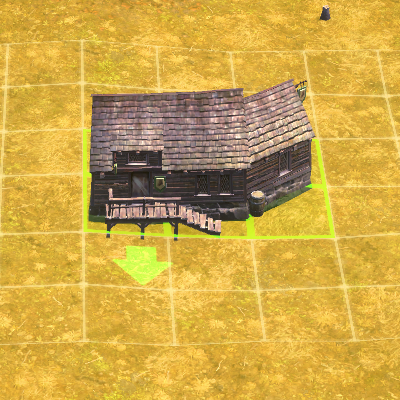
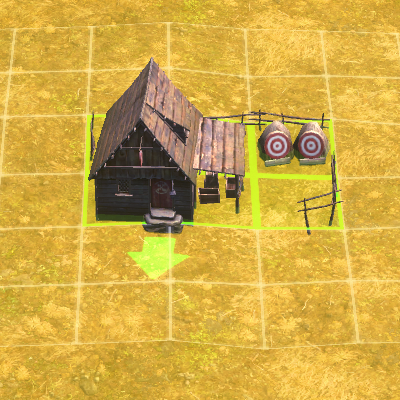
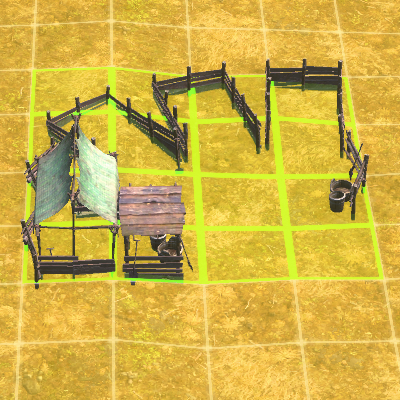
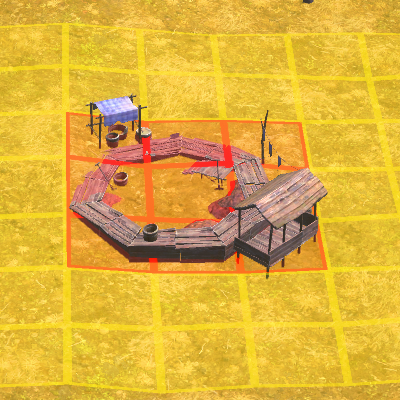
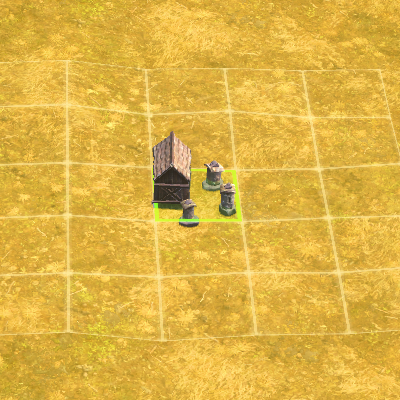
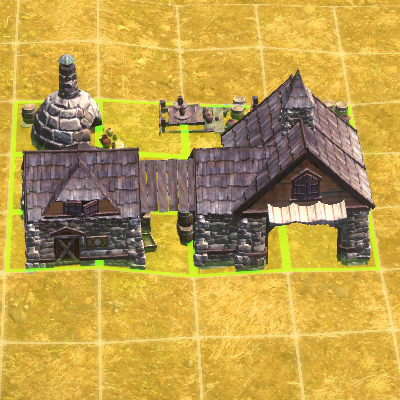
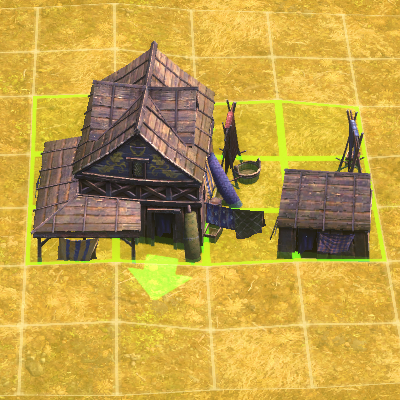
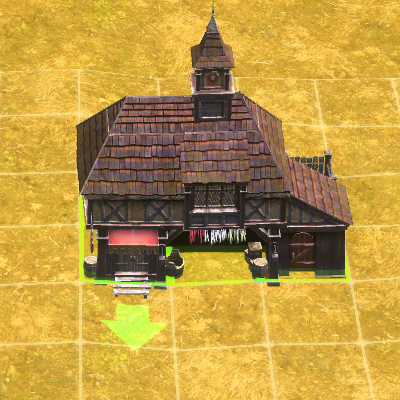
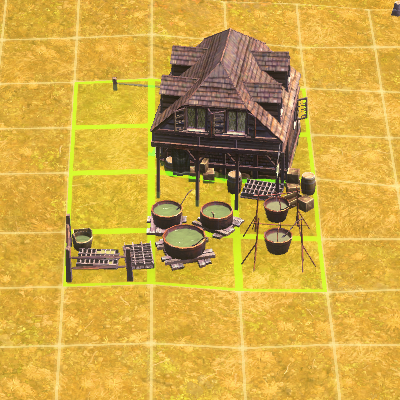
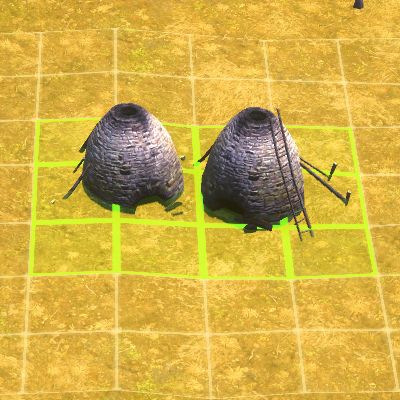
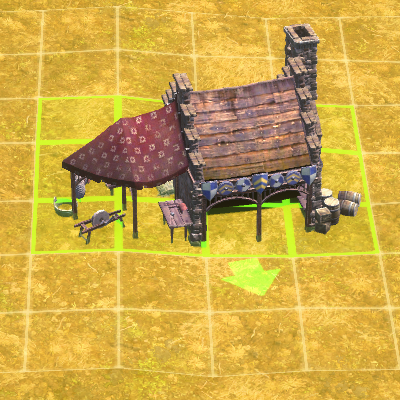
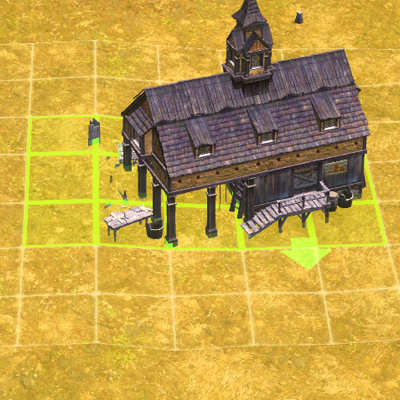
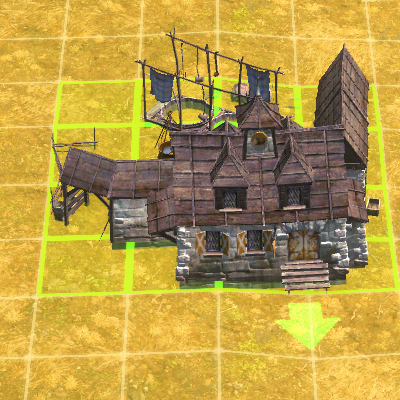
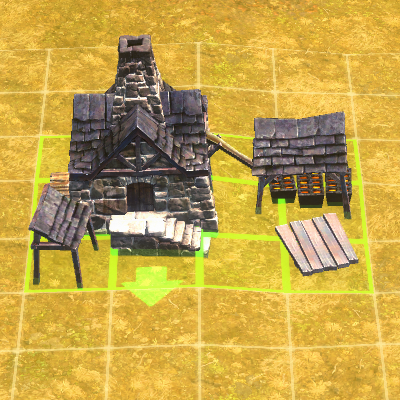
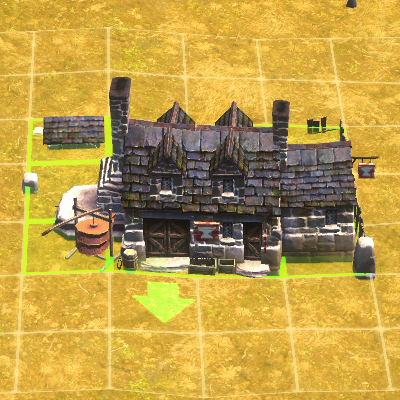
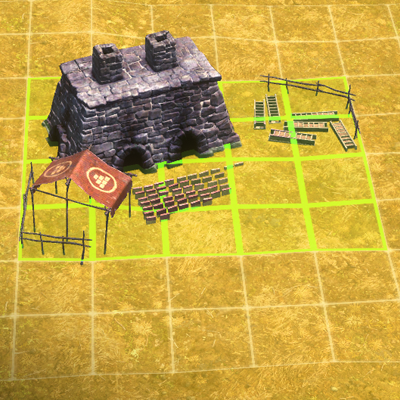
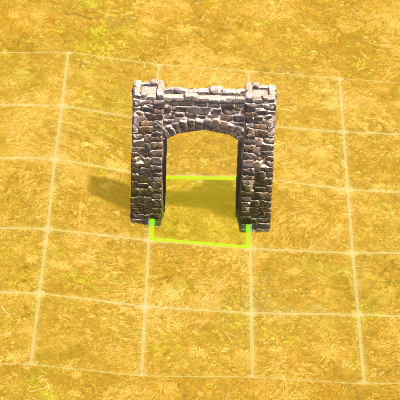
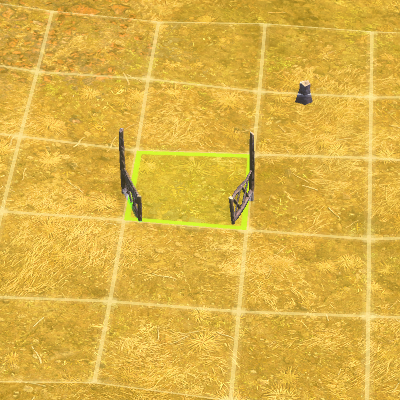
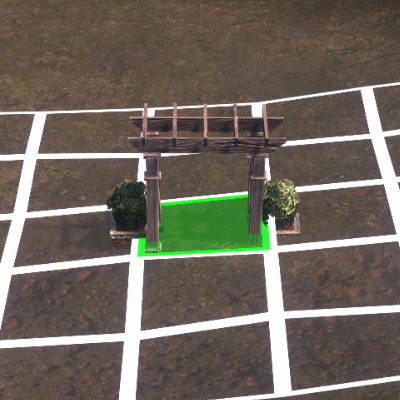
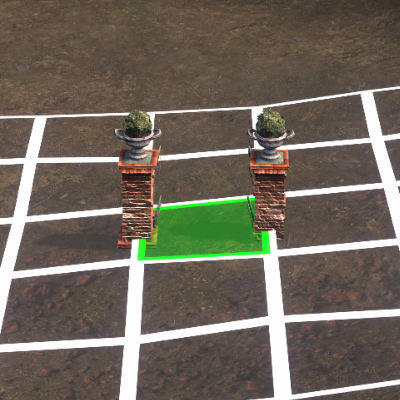
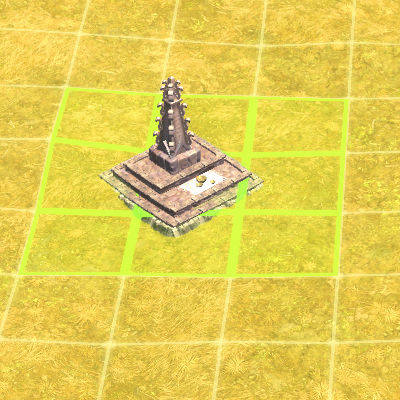
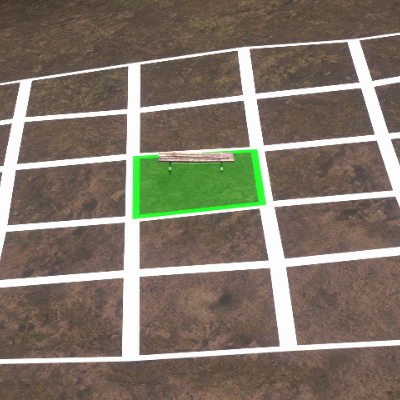
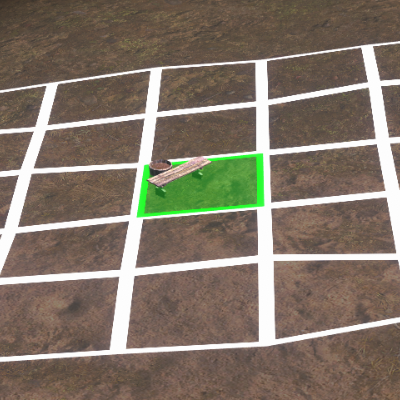
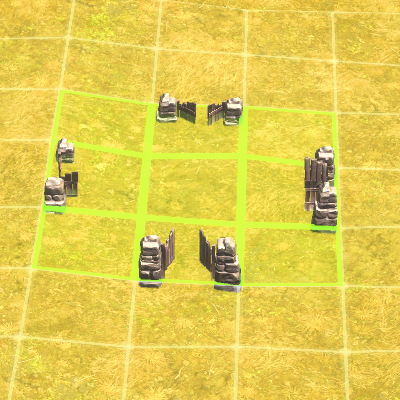
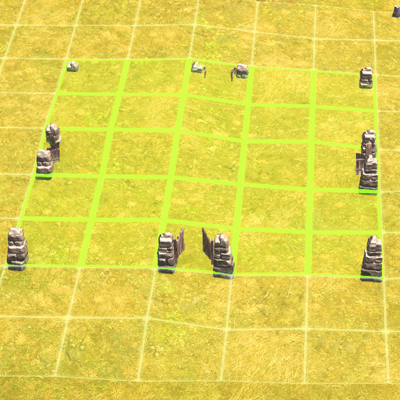
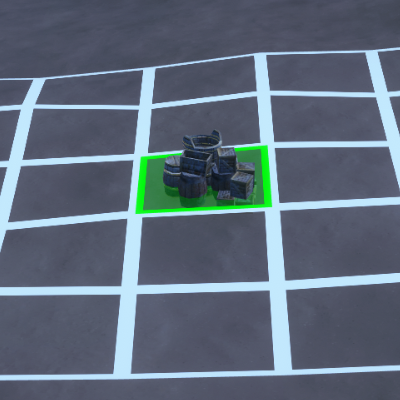
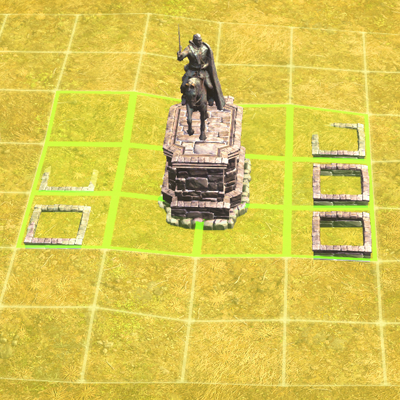
Farthest Frontier uses a grid-based system for its buildings, with the smallest size being a 1×1 square. Not all buildings are a perfect square, and some buildings, such as crops and graveyards, can be expanded to a specific size. When placing a building, you will see a collection of either green or red squares around the building’s primary footprint. White squares are an extended perimeter of the building where the ground needs to be flat. Use the grid chart below to build the perfect town.
Farthest Frontier Building Grid Size Chart
Amenities & Services
Tier 1
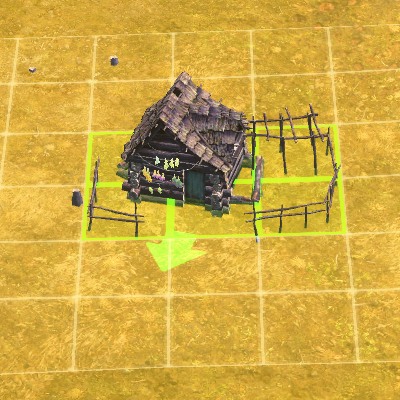
Town Center
Market
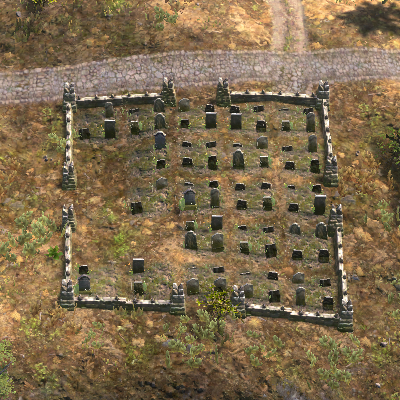
Graveyard
Tier 2
Healer’s House
Trading Post
School
Rat Catcher
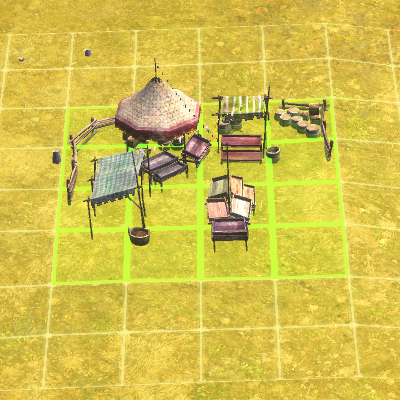
Festival Pole
Tier 3
Pub
Apothecary Shop
Theater
Housing
Tier 1
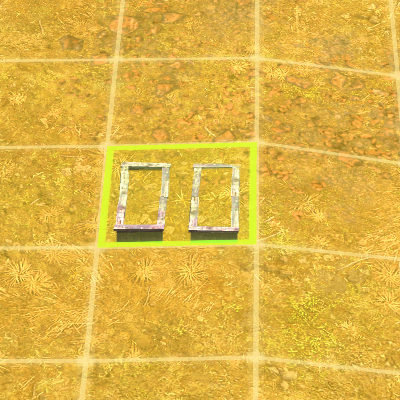
Shelter
Tier 2
Temporary Shelter
Storage
Tier 1
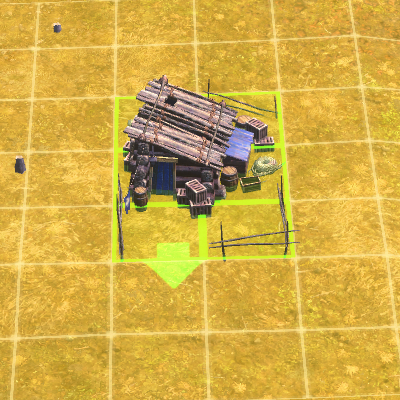
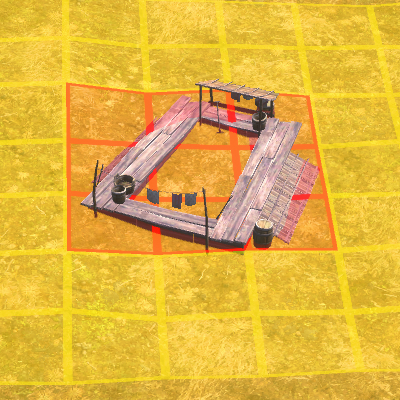
Stockyard

Storehouse
Root Cellar
Tier 2
Wagon Shop
Granary
Vault
Tier 3
Cooper
Food Production
Tier 1
Hunter Cabin
Forager Shack
Fishing Shack
Crop Field

Smokehouse
Tier 2
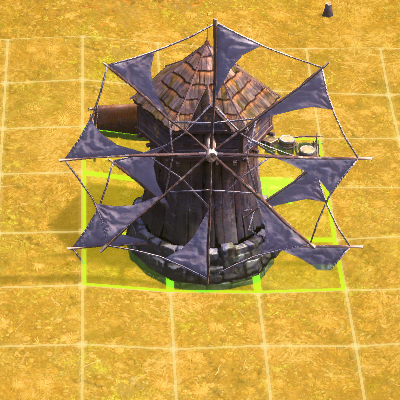
Mindmill
Bakery
Barn
Arborist
Tier 3
Cheesemaker
Preservist
Resources
Tier 1
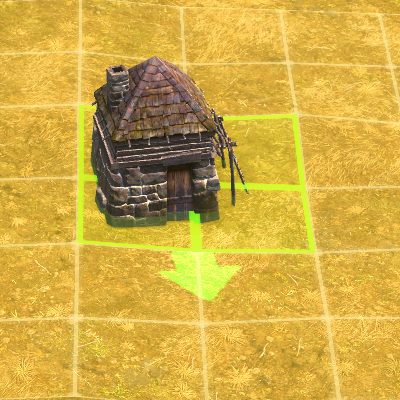
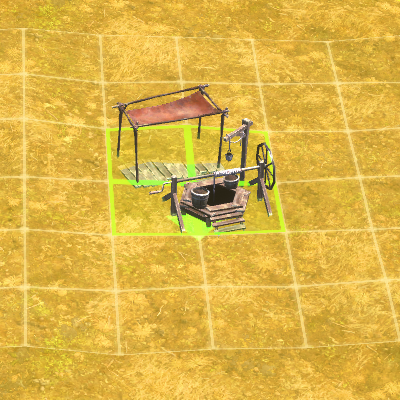
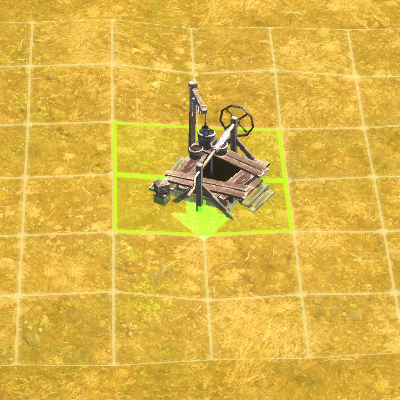
Well
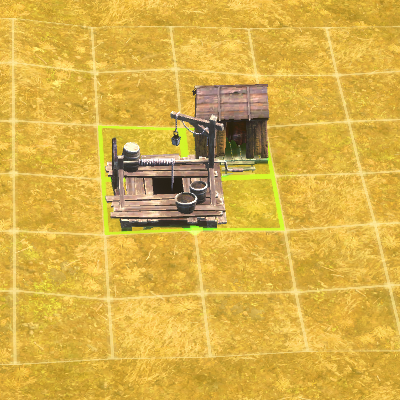
Firewood Splitter
Saw Pit
Tannery

Cobbler Shop
Fletcher
Basket Shop

Compost Yard
Tier 2
Work Camp

Clay Pit
Iron Mine
Gold Mine
Coal Mine
Sand Pit
Apiary
Potter
Weaver
Candle Shop
Soap Shop
Charcoal Kiln
Armory
Tier 3
Furniture Workshop
Brewery
Foundry
Blacksmith Forge
Brickyard
Glassmaker

Defenses
Tier 2
Barracks
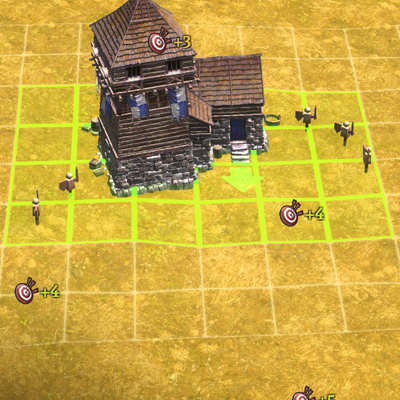
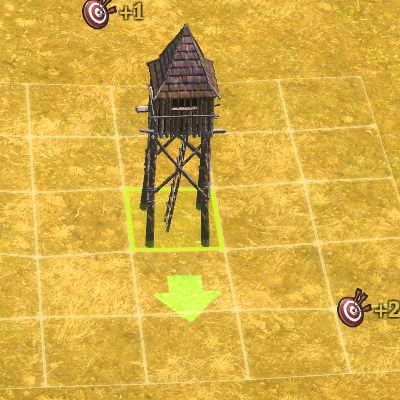
Lookout Tower
Palisade Wall
Palisade Gate
Palisade Wall
Tier 3
Fortified Wall
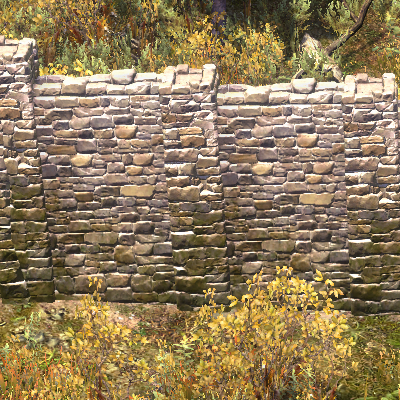
Fortified Gate
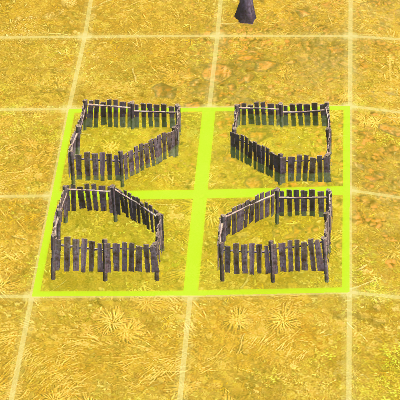
Roads and Fencing
Tier 1
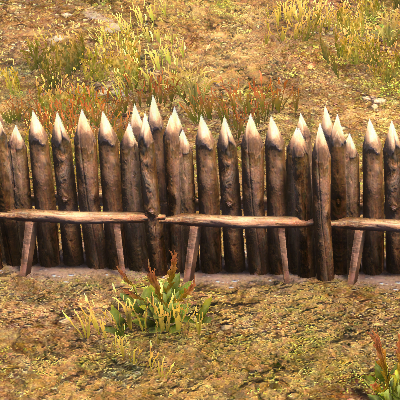
Fence
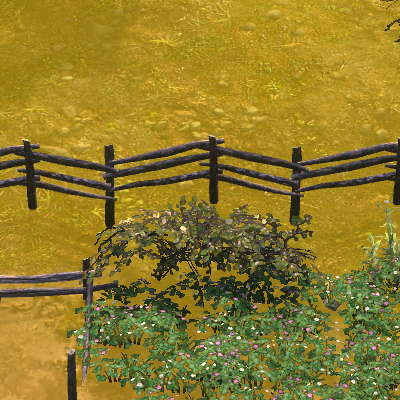
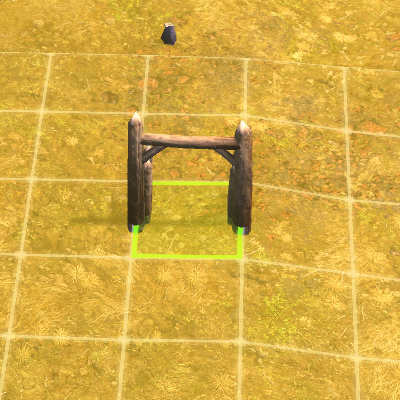
Fence Gate
Dirt Road
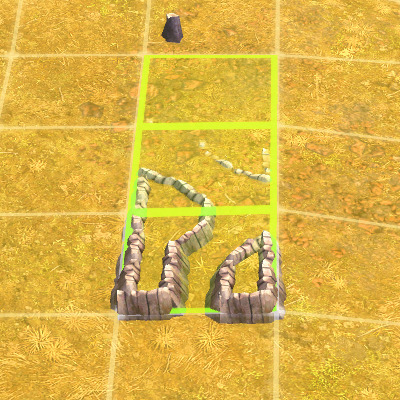
Tier 2
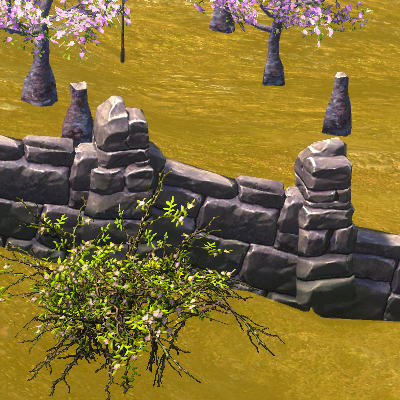
Fieldstone Wall
Tier 3
Hedge Fence
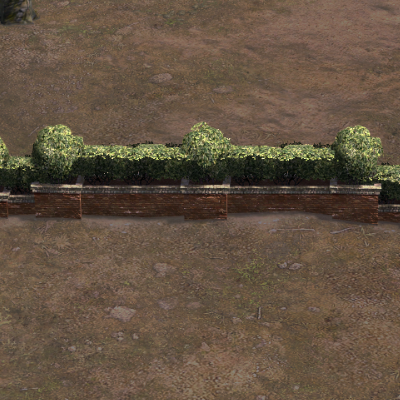
Hedge Fence Gate
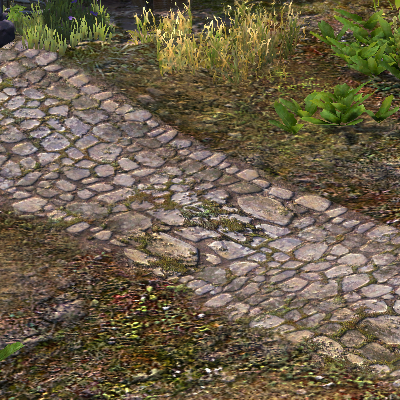
Cobbled Road
Tier 4
Wrought Iron Fence
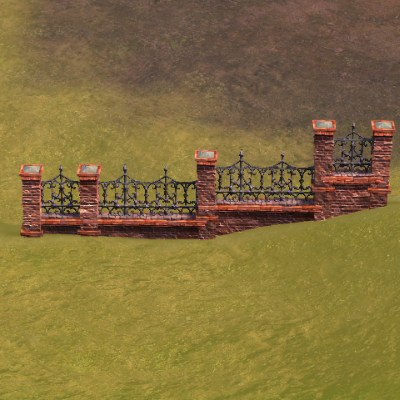
Wrought Iron Fence Gate
Decorations
Tier 1
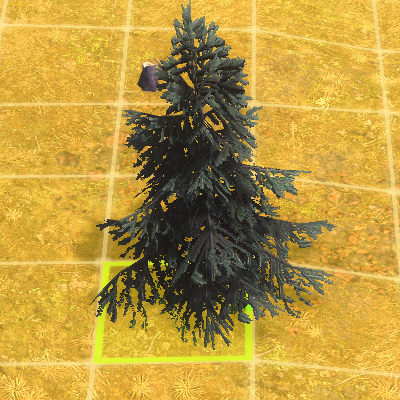
Birch Tree
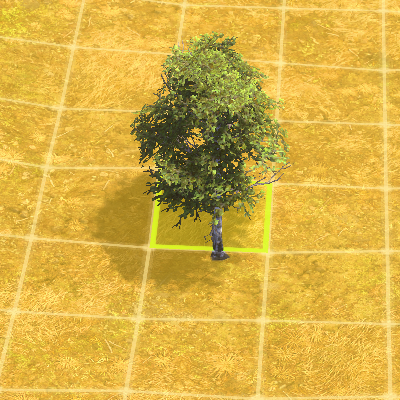
Maple Tree

Oak Tree
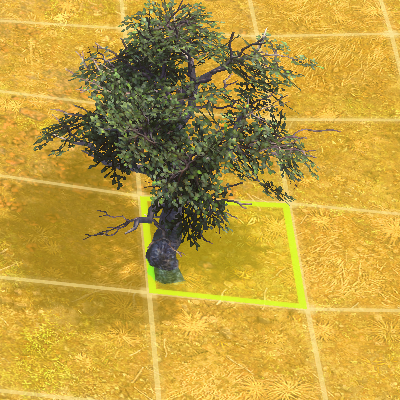
Spruce Tree
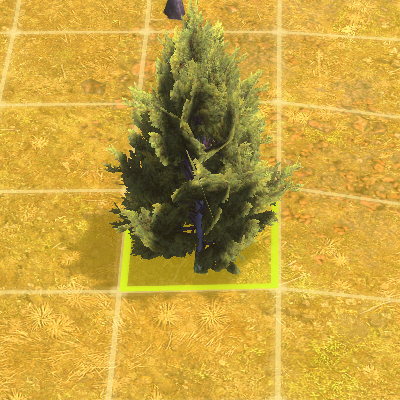
Juniper Bush
Small Shrub
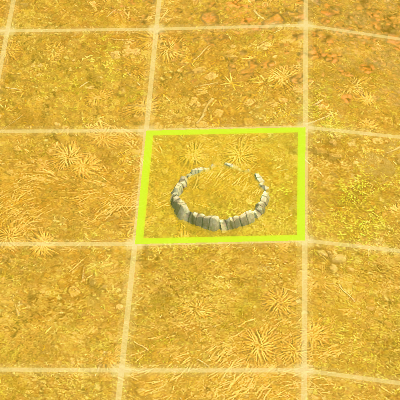
Small Garden
Medium Garden
Garden Trail
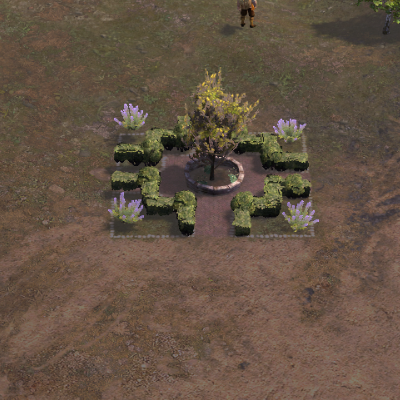
Small Plaza
Shrine
Tier 2
Small Dirt Clearing
Flag Pole

Small Bench Plaza
Small Corner Bench Plaza
Medium Plaza
Small Park
Large Parge
Tier 3
Crates and Barrels
Ornamental Tree
Flower Urn
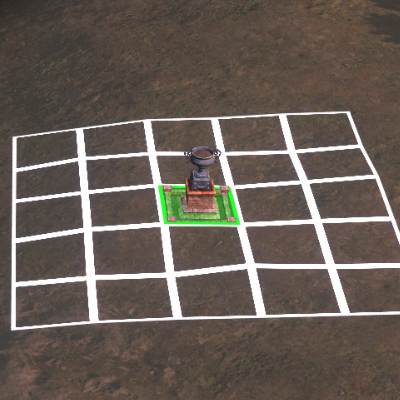
Small Statue
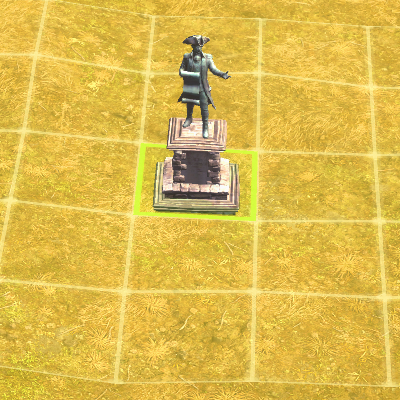
Medium Statue
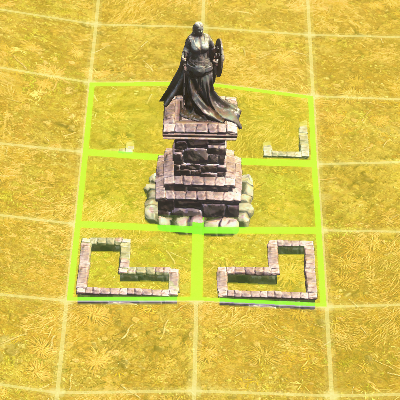
Large Statue
We hope you found this building size chart helpful on your current playthrough. Refer back to it anytime you are planning your next Farthest Frontier town.
Get more Farthest Frontier guides in our Farthest Frontier section.