In Jagged Alliance 3, repairing your equipment and weapons will ensure they remain effective in combat. However — repairing them isn’t as easy as reloading or performing some of the other minor in-game mechanics. In reality, however, performing the repair action is very easy; you’ll just need a place to lay low and rest. Continue reading for a quick guide on how to repair weapons in the game.
How to Repair Weapons in Jagged Alliance 3
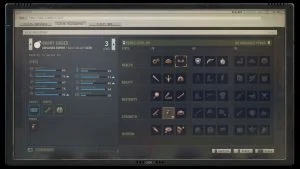
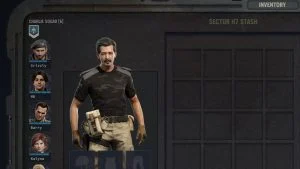
To repair weapons in the game, right-click on your party in the SAT View and select the Operations option. From this menu, select Repair Items, assign characters with a high Mechanical stat as mechanics, then select Pick Item.
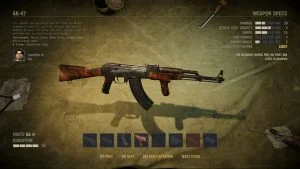
From here, you’ll want to fill the item slots with the gear that you use in combat. Prioritize items with a low Condition, as they are most likely to break and become useless in combat. Selecting the Auto-Fill option will automatically queue all of your lowest-condition gear. Hit Start or the S key to start the repair process and unpause time to begin repairing your weapons.

After you finish queuing up your repairs, a repair icon will become visible on the bottom timeline, letting you know how many days and hours it will take to repair everything you’ve queued.
It’s advised that you repair regularly, as repairing low-condition items can take some time, even days, depending on how many items you are repairing. Having characters with high Mechanical skills will make the process faster.
If you are looking for more guides, including in-depth quest guides for the game, visit our Jagged Alliance 3 section.