Customizing your rides is all part of the fun in Need for Speed, and in Unbound, players have more customization options than ever before. Navigating the different body parts can be confusing, so if you’re wondering how to change the color of your headlights and tail lights in NFS Unbound, we’ve got you covered in the guide below.
How to Change Headlight Color in Need for Speed Unbound
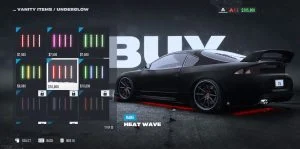
Here’s how to change the color of your headlights in Need for Speed Unbound:
- Visit your garage and open the Rides section.
- Go to Style, Body, and Edit Body Parts.
- Select Edit Headlights.
- Press RB to go to the Primary Color tab.
- Edit the Headlight Colors.
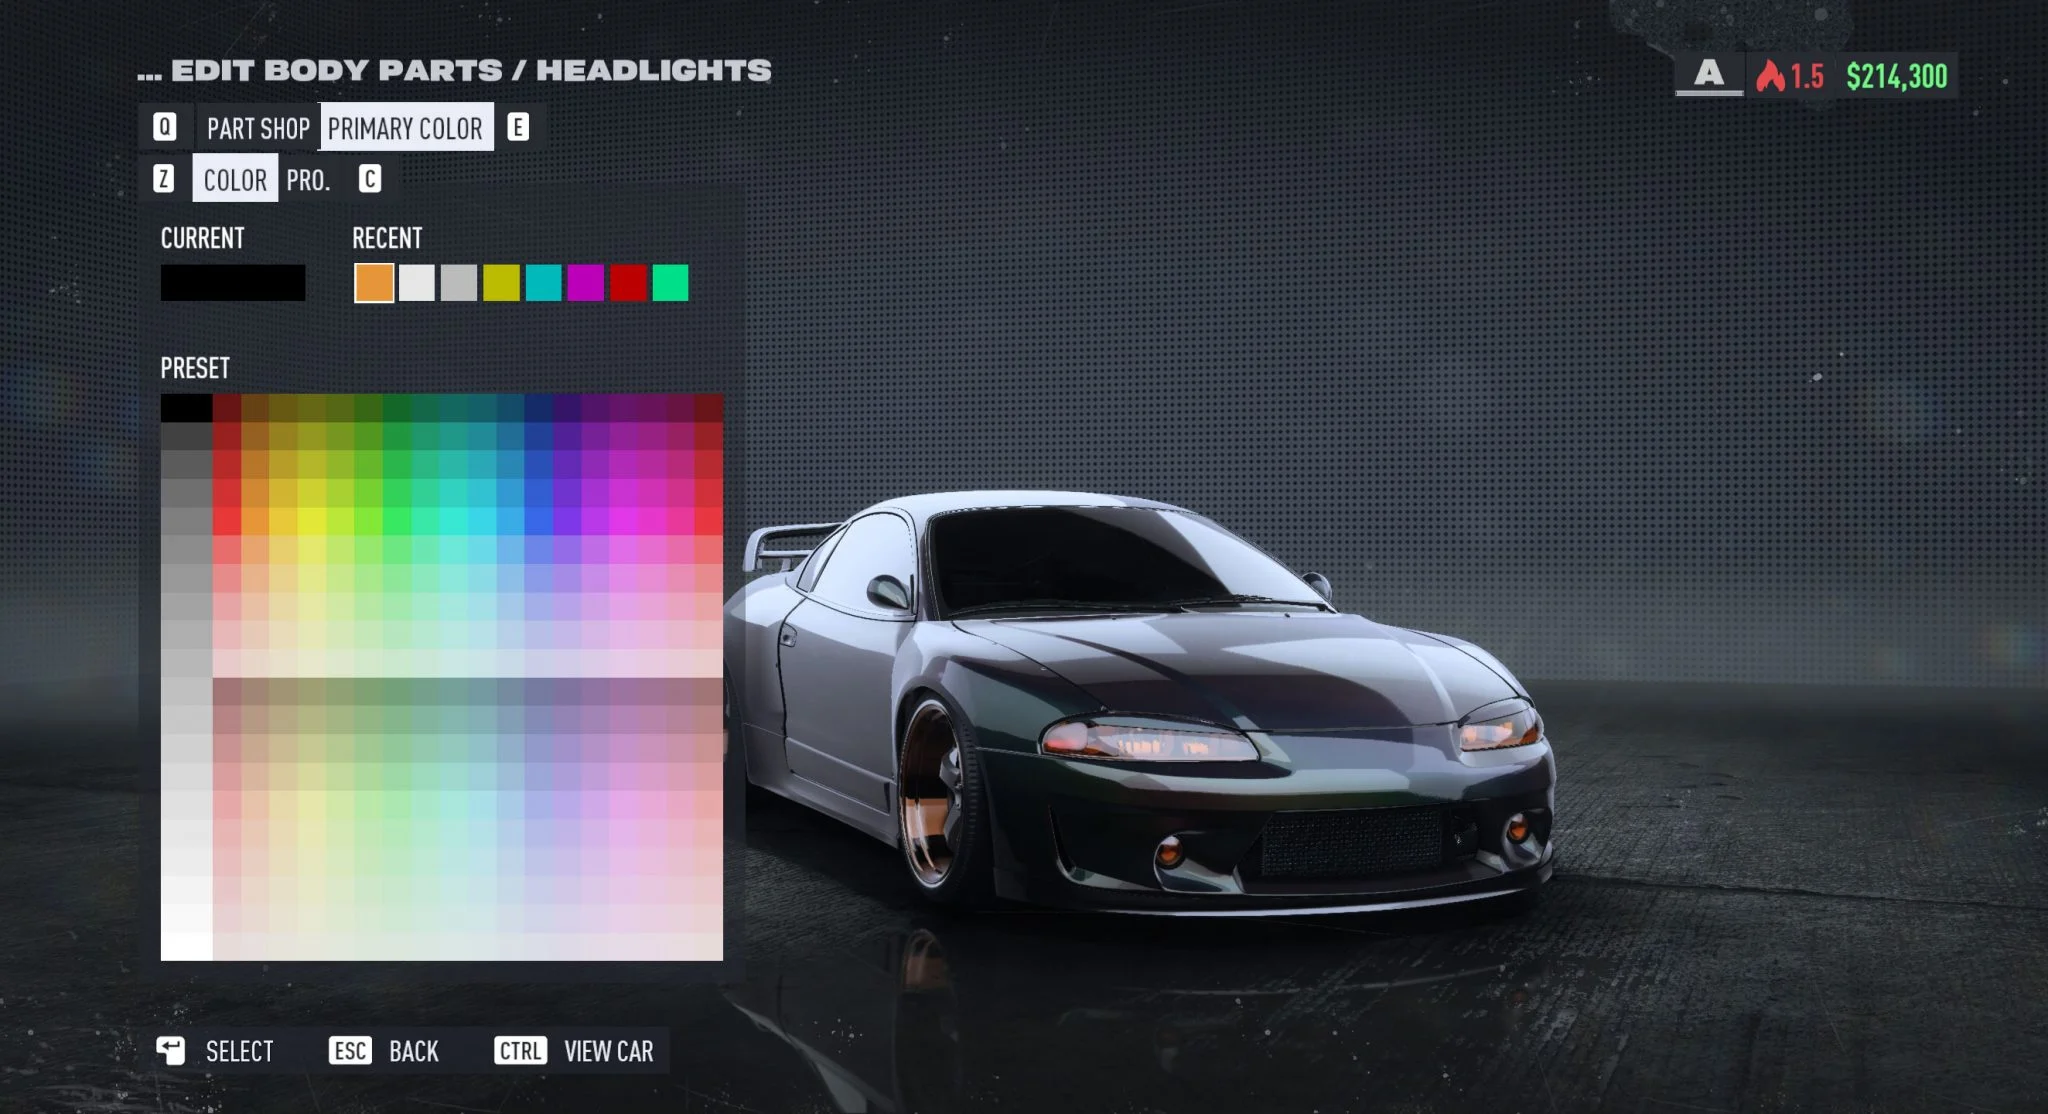
From the Primary Color menu in the Body Parts / Headlights section, you have a choice of pretty much any color. You can then dial it in even more by pressing RT to get to the Pro section and then changing the Hue, Saturation, and Brightness.
Note: If you’re messing with the sliders, press X (Big Steps) to make the slider navigate faster.
If you end up customizing many body parts and are unhappy with the changes, you can revert all your changes by going to the Edit Body Parts menu and pressing CTRL (PC) or Y (controller).
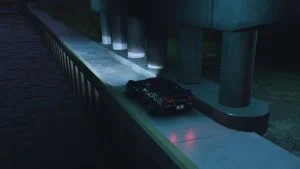
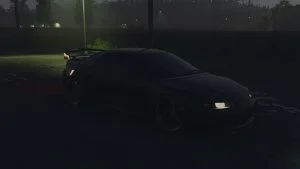
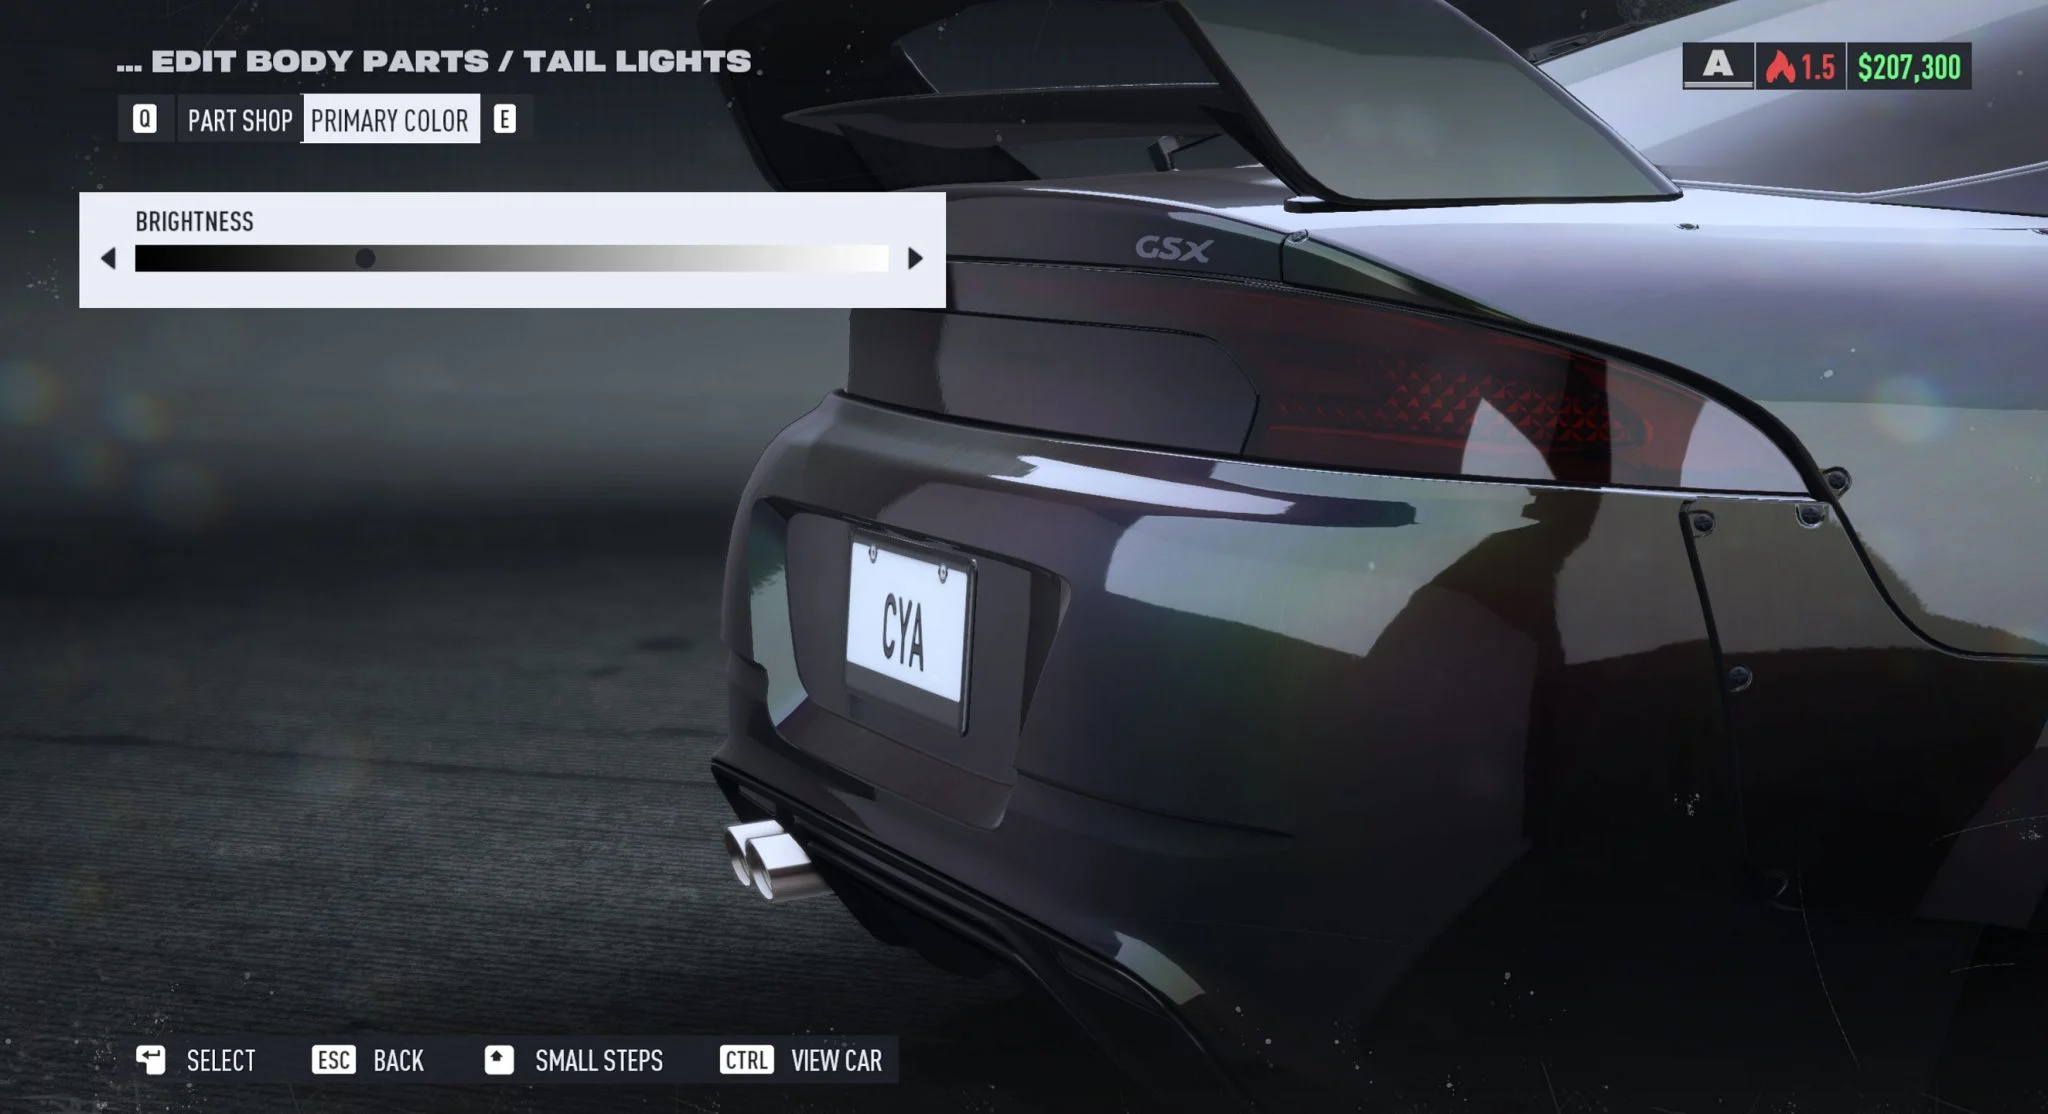
Changing the Color of the Tail Lights
Unlike the Headlights, you can only modify the brightness of the Tail Lights. Turn down the brightness all the way if you are going for an all-black style. Unfortunately, brightness is the only option here, and the tail light has no color palette.
There you have it; that’s how to change the color of your headlights and tail lights in Need for Speed Unbound. Remember to check out the various tail light and headlight parts for your rides, as well, to get the look you want. Visit our Need for Speed Unbound Section for more guides and walkthroughs.