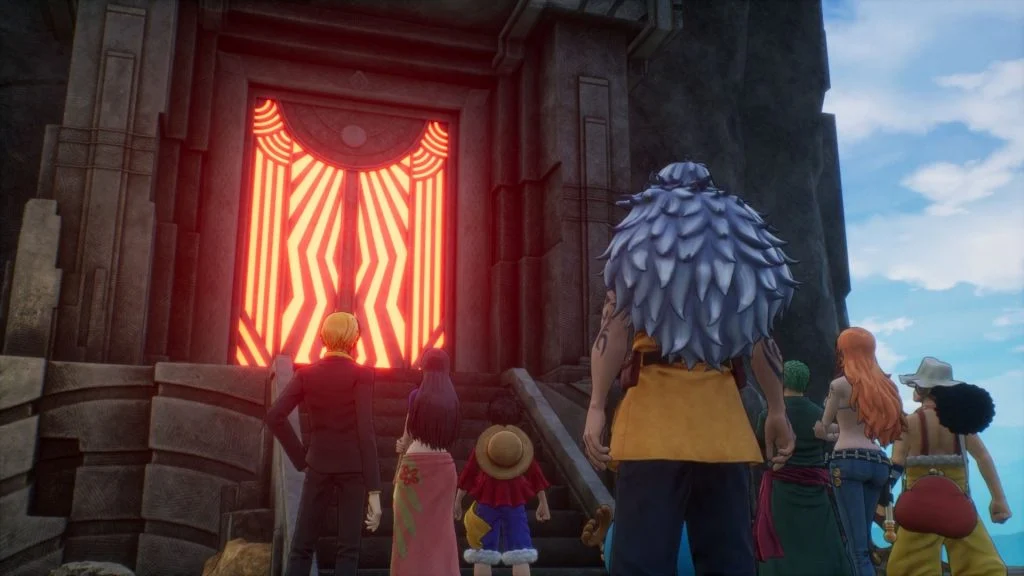
Thunderhead Ruins is one of the first dungeons in the Bandai Namco JRPG, One Piece Odyssey. If you’re having trouble with the quest, we’ve got a walkthrough you can use.
The Thunderhead Ruins will be your first real challenge if you’re going through the Bandai Namco JRPG One Piece Odyssey. Keep reading for a full guide and walkthrough to get you to Chapter 2.
One Piece Odyssey: Thunderhead Ruins Walkthrough
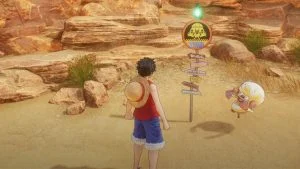
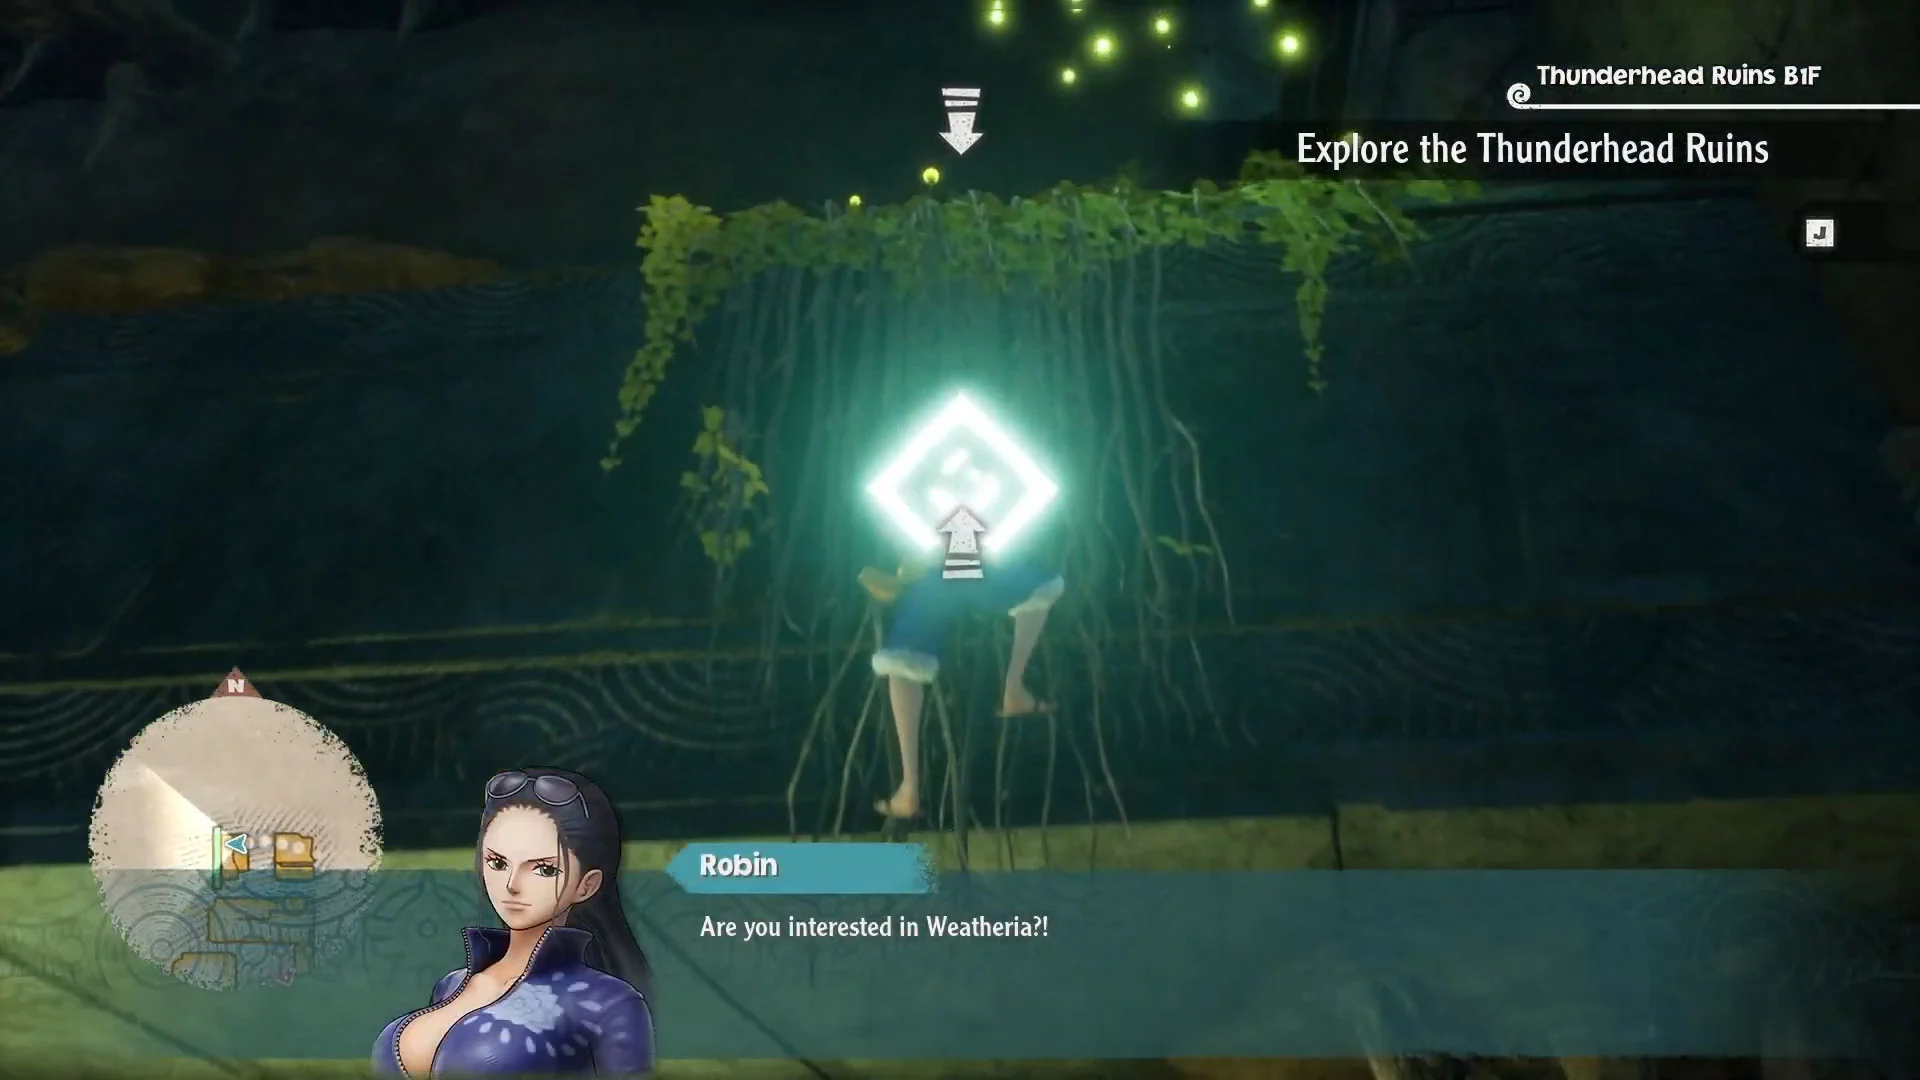
The Thunderhead Ruins is a relatively short dungeon containing a variety of enemies, including Smiley Squirrels, Bronze Bats, and Eisa. To start, you’ll need to select Luffy to advance through the initial parts of the dungeon. There will be many grappling hook spots that you can aim and use to traverse over gaps.
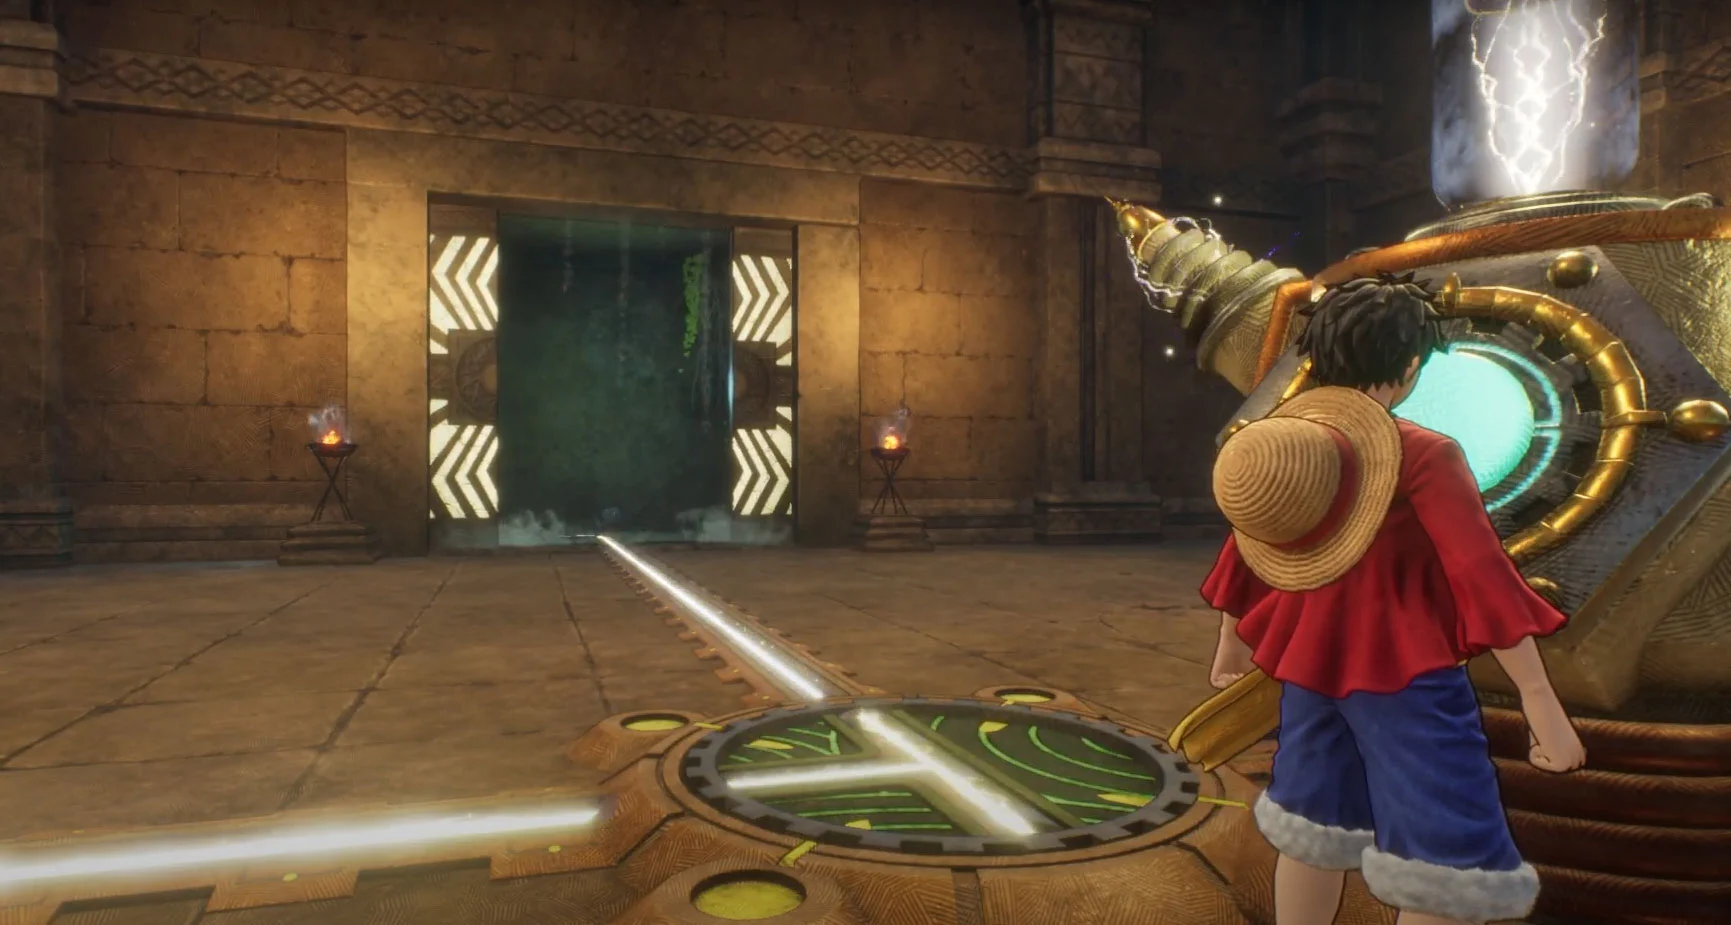
Continue through the Thunderhead Ruins until you reach the electrical towers, and follow the illuminated line until you reach the next tower. Once you reach the second tower, interact with it to redirect the current and open the next door.
Run through the open door and follow the electrical currents on the ground. You will reach an area where there are two electrical consoles. If you walk through the open door into the other room, you’ll find an extra chest, and a mini-boss called a Shock Kobuto. It is a fairly easy boss to defeat, so you should take it out for the extra EXP. To open the door to continue through the mission, interact with both consoles, and the door will open.
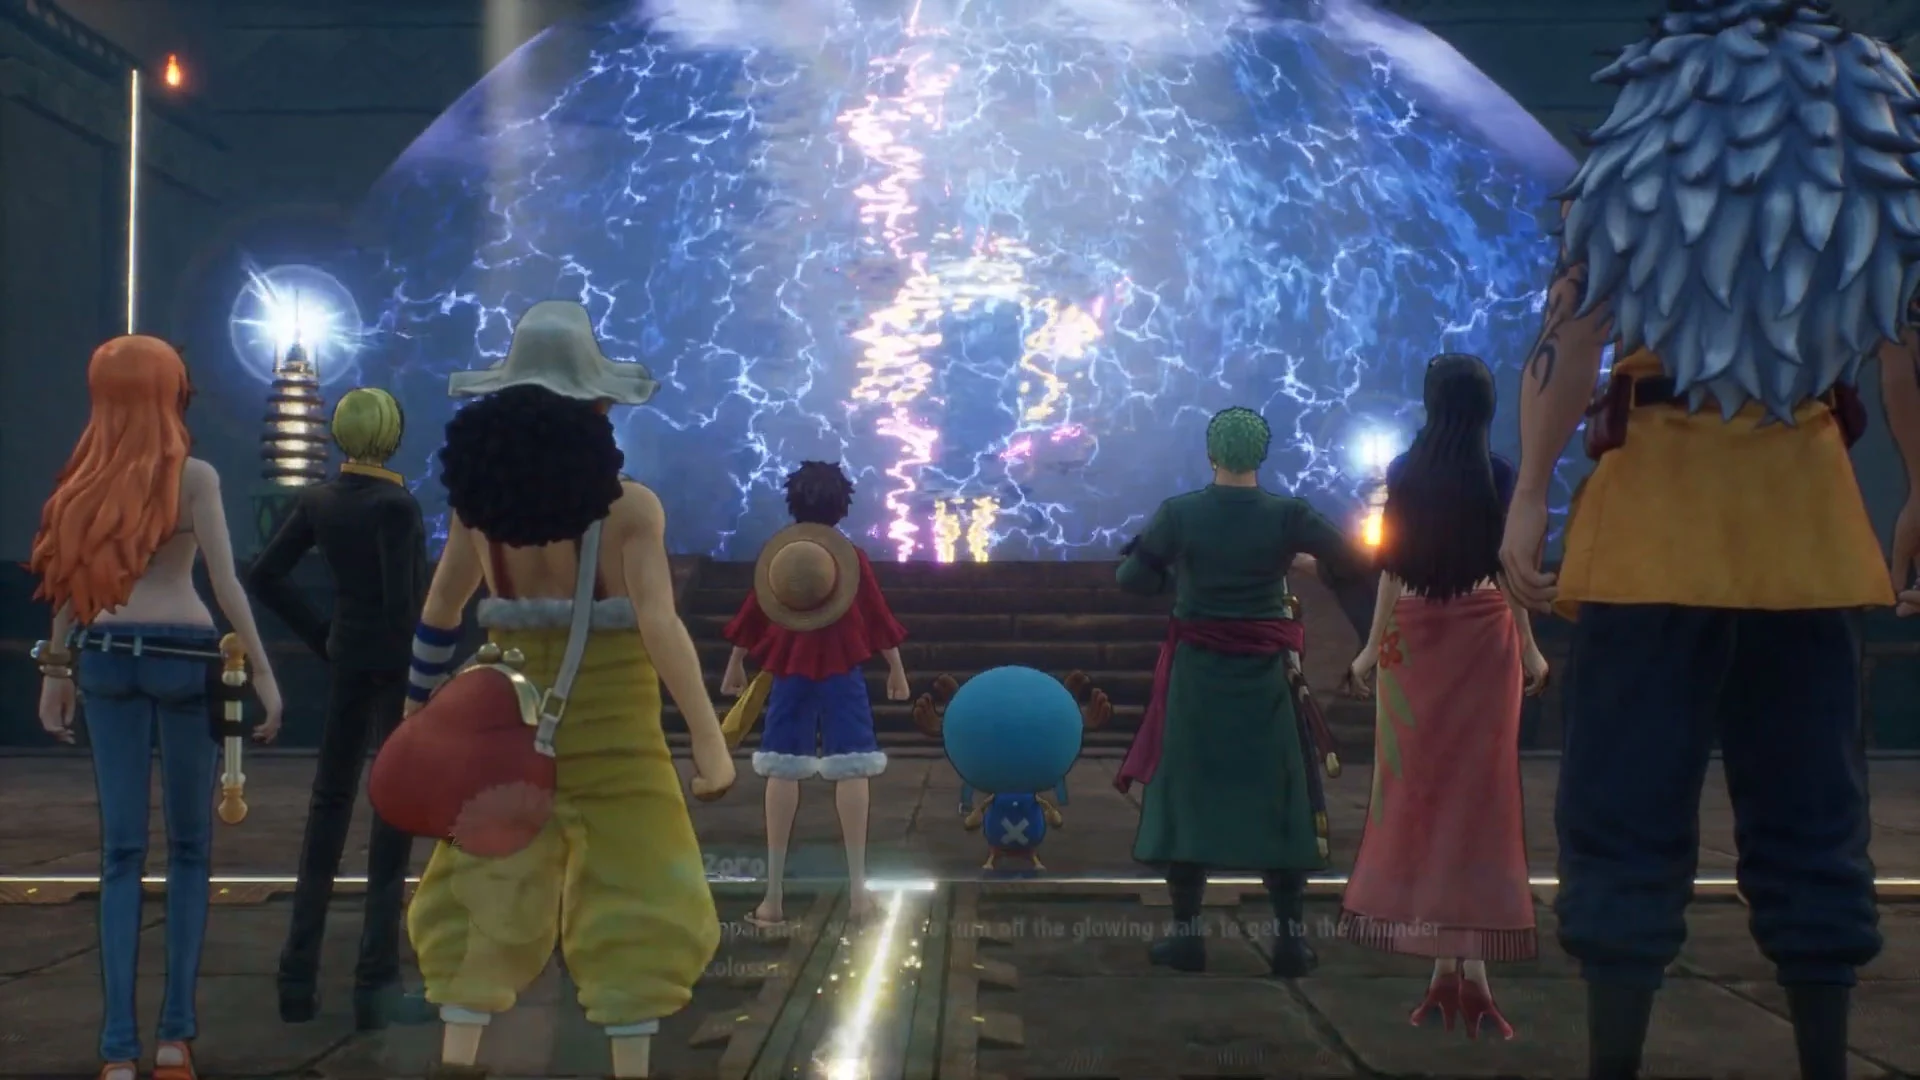
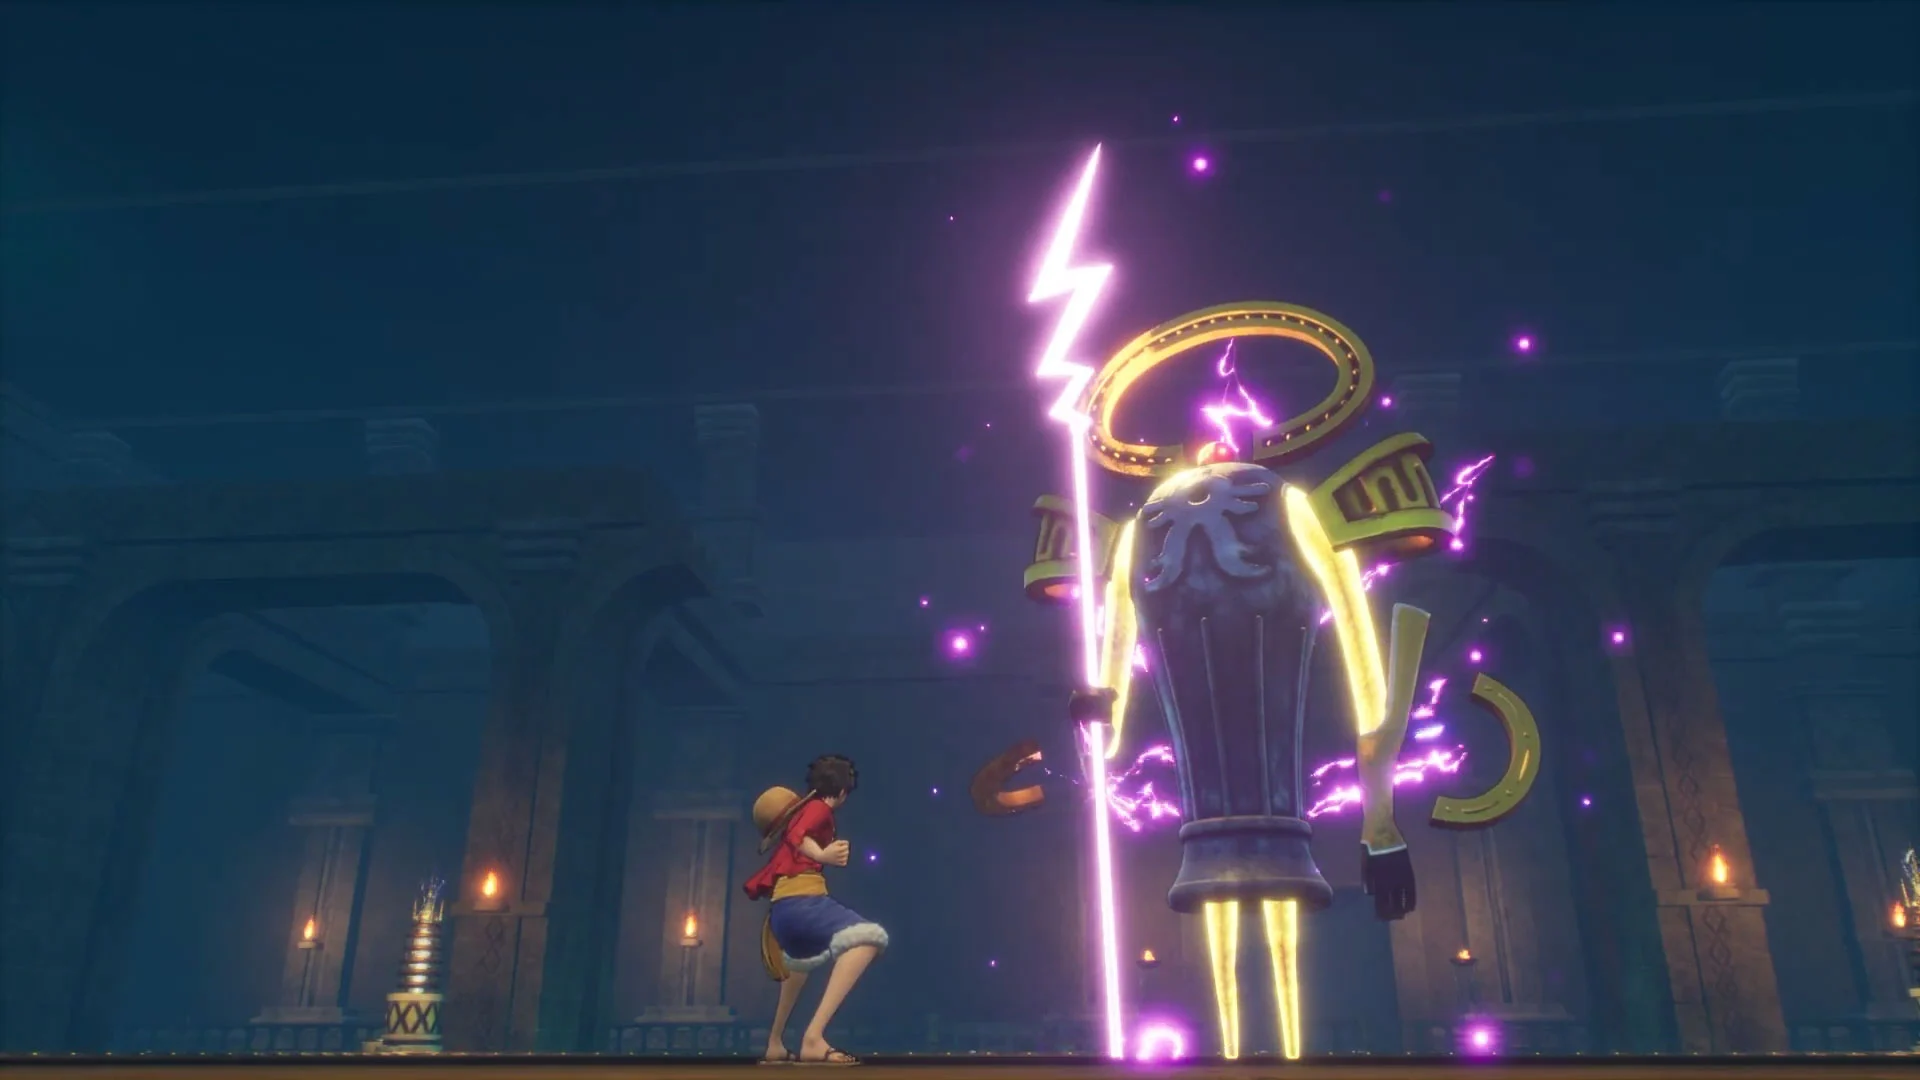
Finally, after turning on all the consoles and making your way to the back of the Ruins, you’ll find the boss of the area, the Thunder Colossus, surrounded by a forcefield. To deactivate the forcefield, you need to deactivate the remaining electrical towers to the right and left of the forcefield.
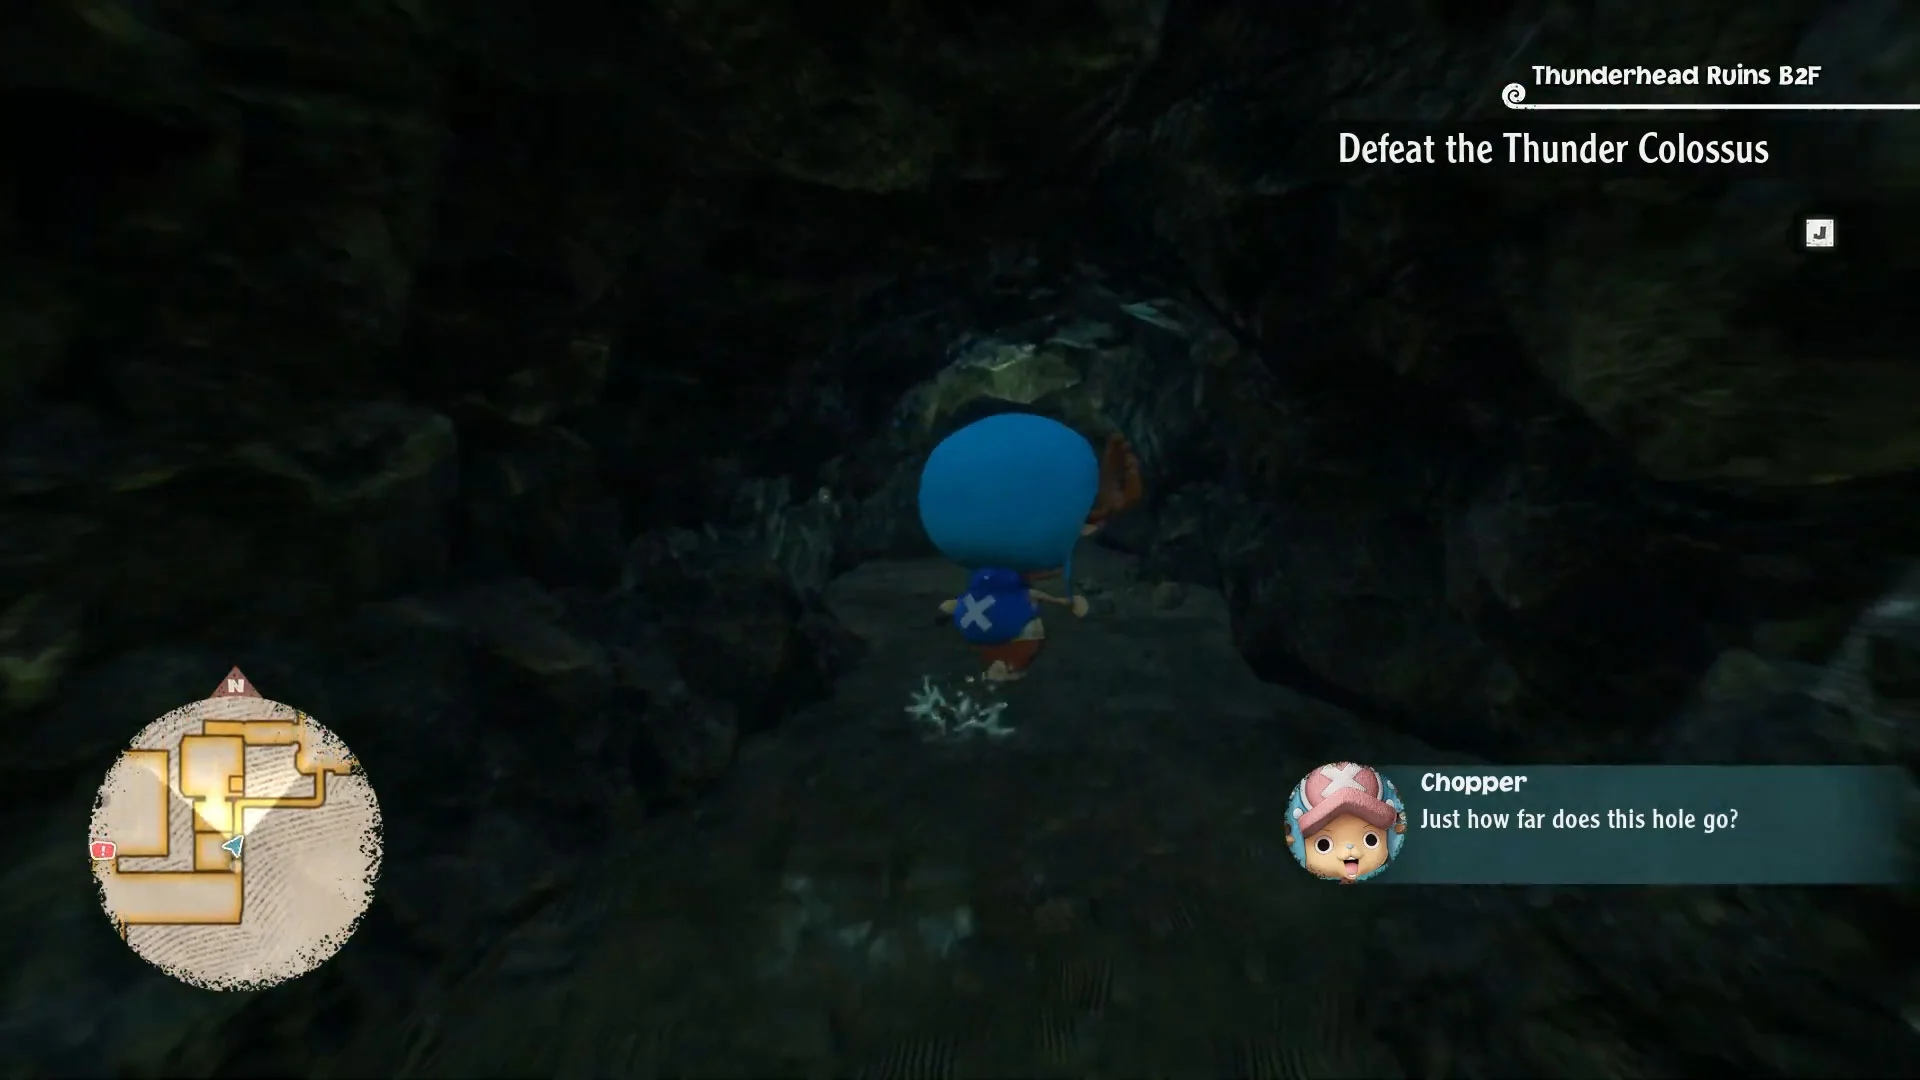
For the electrical towers on the right, you’ll need to become Chopper and go through the small hole. Continue following down this path, and eventually, you’ll make your way to the upper electrical towers. Deactivate each as you make your way down to the ground floor.
You’ll need to become Luffy for the electrical towers on the left side so you can grapple to the top of the towers. Activate the bottom electrical device to open the door, then grapple to the top by entering the left room to shut off the final tower. There will be another Shock Kobuto you can defeat for an additional XP.
Beating the Thunder Colossus Boss
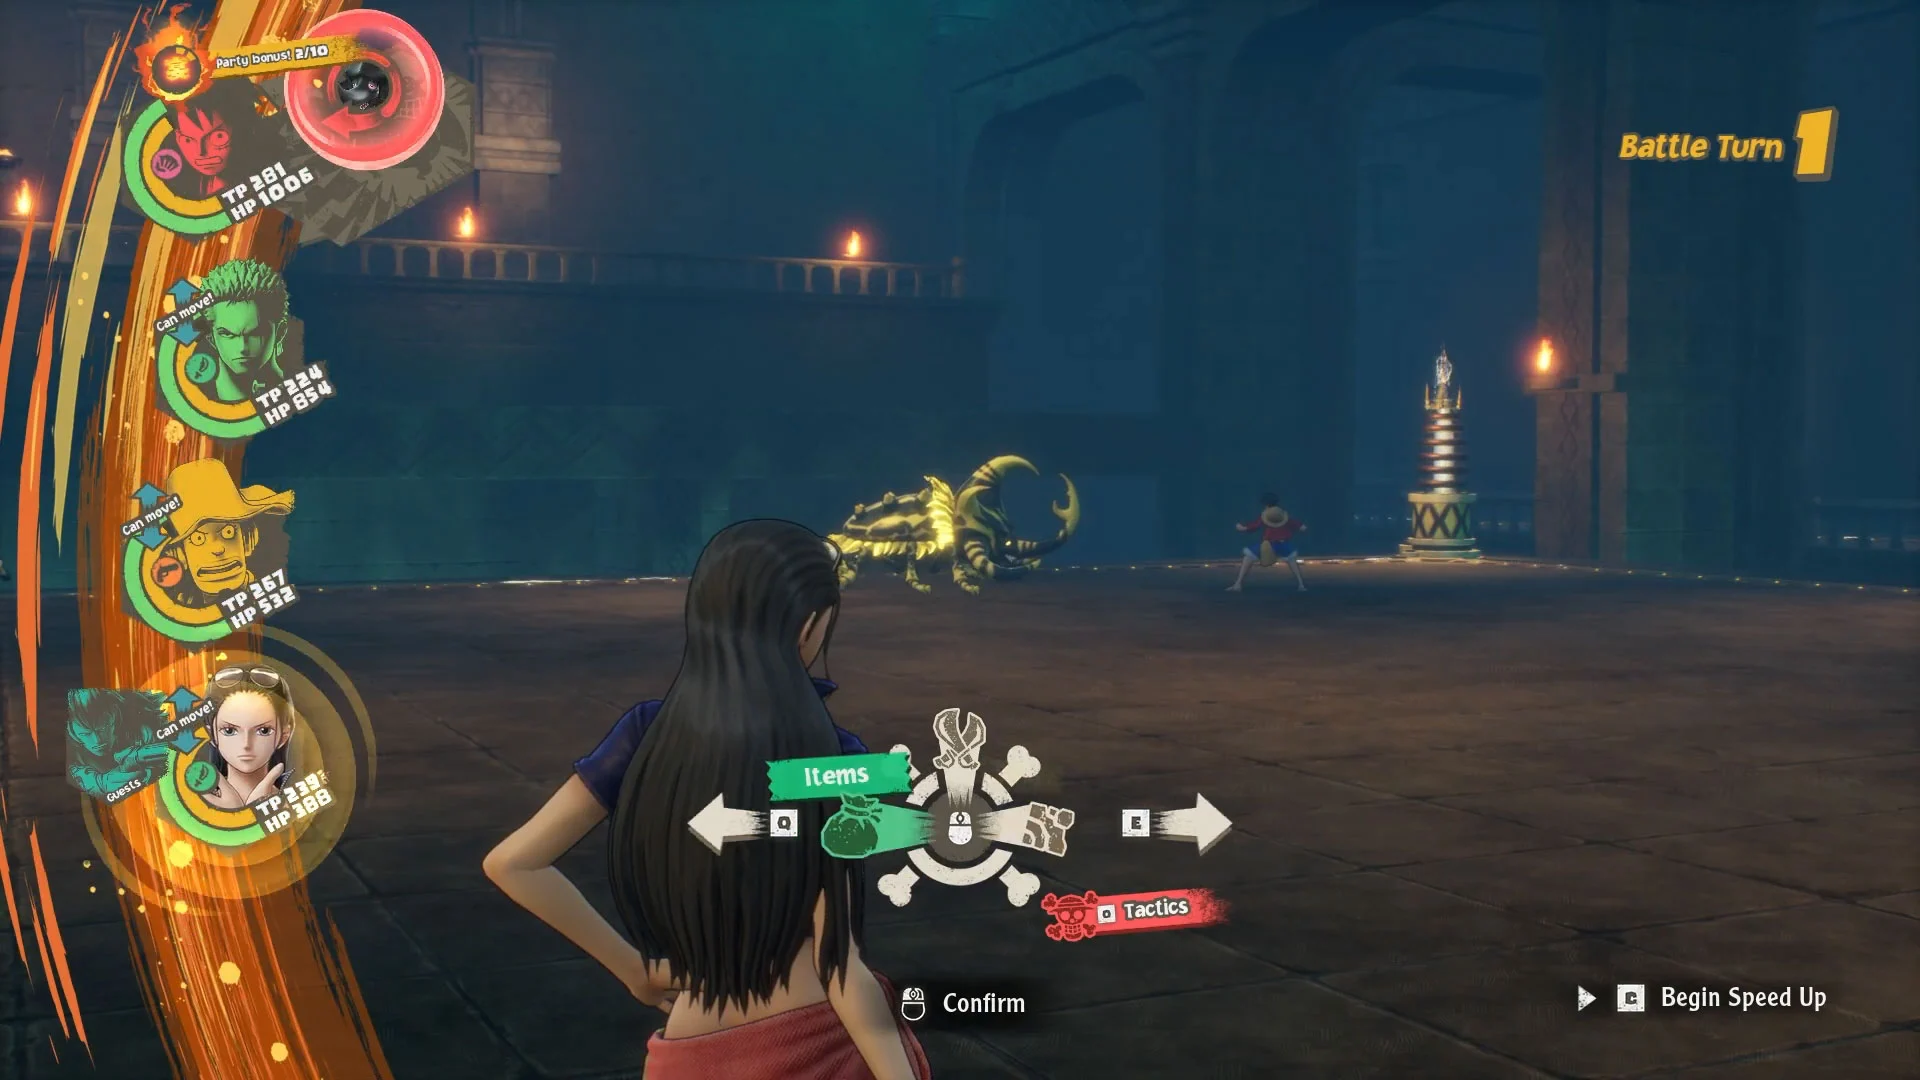
The Thunder Colossus boss in the Thunderhead Ruins is a fairly beefy opponent but shouldn’t be too tough, especially if you were killing the mobs leading up to him. Really, there isn’t much strategy behind killing him, as he should fall to the skills of your party.
The one move to be wary of is his giant AOE move, Thunder Might Iron King, which launches a giant, slow-moving electrical charge at your party and has a chance to paralyze party members. Other than that, just follow the following boss guidelines:
- Use items and Chopper to Heal regularly.
- Use status effect moves like Robin’s Treinta Fleurs Flip to immobilize the boss.
- Switch out party members if they are at risk of dying.
Defeating the Thunder Colossus boss will mark the end of Chapter 1 in the game. If you are still having trouble completing the Thunderhead Ruins, see our gameplay walkthrough below.
What was giving you the most problems with the quest? Let us know in the comments section below.
More One Piece Odyssey Guides: One Piece Odyssey: How to Cook | One Piece Odyssey: How to Use Cube Fragments | One Piece Odyssey: How to Get Nests in Alabasta | One Piece Odyssey: How to Change Outfit | One Piece Odyssey Character List